Posts tagged healthy
Strawberry Chia Pudding

My kids call this spider eggs. But I can’t tell you how much I like it. It’s also really good for you. Chia is packed with fiber so it helps with digestion and keeps you filling fuller longer. Fiber is also supposed to do amazing things for your heart and what not too. Bottom line, nothing but good news when you eat chia seeds. Unless, of course, your children call them spider eggs in which case it makes them a little less appealing.

Ali Hedin | Strawberry Chia Breakfast Pudding for a healthy start

I’ve never talked about my daily eating pattern before because it seems really boring to me - but I do get asked questions so here goes…

I take a handful of supplements in the morning - for my hair, my stress, and a probiotic - but I cannot tolerate anything in my stomach without food in there too. So I have a bowl full of chia pudding with my supplements. This time of year I mix in fresh strawberries to jazz things up a bit. Plain old chia seeds are not delicious. In a few weeks I’ll switch to raspberries but for now - strawberries are the best.

I like to go with chia pudding first thing because I know it will fill my stomach, give the supplements something land on, and give the probiotics something to work with. It’s also a healthy start to the day and if I start healthy, I find I do better throughout the rest of the day. Or I at least know I started healthy so if things fall off, then I at least tried.

Strawberry Chia Pudding

1 1/2 cups milk alternative

1/2 cup chia seeds

1/4 cup smashed strawberries

1 teaspoon vanilla

STEP 1

Smash the strawberries in a large measuring cup or a small bowl.

STEP 2

Add the milk alternative and vanilla and stir.

STEP 3

Stir in the chia seeds and refrigerate at least one hour but ideally overnight. Stir every 15 minutes for the first hour. Serve with sliced strawberries and granola.


Miso Salmon Bowls with ‘quickles’

I made these for dinner last week and completely held my breath as I served them. Technically, my kids love salmon - they love pickles - they love rice - they love kimchi. But all together, with the miso, I just wasn’t sure. Turns out I had nothing to be worried about. They loved them. And asked to have them again soon. Especially the ‘quickles’ which I’m making again this week with a Korean beef dinner!

Miso Salmon Bowls by Ali Hedin | A quick and healthy weeknight dinner

‘Quickles’ are quick-pickles. When the vinegar mixture is hot, it’s poured over the cucumbers and - because they are smashed - they soak up the liquid and turn into a delicious version of a pickle. I don’t totally know what the story is with smashing the cucumbers. I saw it online and started reading about it. What I discovered (basically) is that smashing them opens up more ‘pores’ of the cucumber so it has better ability to soak up flavors. It’s suppose to be a great solution for salads, etc. where you want them to absorb dressing or - in this case - vinegar solution. It was worth a shot and I was impressed. I’ll totally smash them! Plus, the teenagers were intrigued and all came into try smashing. Family activity!

I did not include directions on making rice. I’m assuming you can make rice? Or you have a way you prefer? I make rice on the stove top. But my mom used a rice maker. My sister-in-law likes the bags of almost cooked rice. I honestly don’t care how you make it. I (obviously) think my way is right. But you do you.

Some miso paste is a little dry. Using the mortar and pestle ensures that everything gets mixed together. You don’t need to use it - just an option. A bowl and the back of a spoon works the same!

Miso Salmon Bowls by Ali Hedin | A quick and healthy weeknight dinner

Miso Salmon Bowls with ‘quickles’

serves 4


2 pounds salmon filets

2 tablespoons miso (brown or yellow)

2 tablespoons sesame oil

2 teaspoons mirin

2 teaspoons soy sauce

1 cucumber

1/2 cup white vinegar

1/2 cup rice vinegar

2 tablespoons salt

2 tablespoons brown sugar

4 peppercorns, cracked

1 teaspoon red pepper flakes

kimchi for serving

rice

edamame

pickled ginger


STEP 1

Preheat oven to 350 degrees.

In a small skillet bring to a low boil the white vinegar, rice vinegar, salt, brown sugar, peppercorns and red pepper flakes. To ‘crack’ the peppercorns you can use a mortar and pestle or smash them with the back of a knife. No peppercorns? Use fresh ground pepper - about 1/2 teaspoon or less.


STEP 2

Slice the cucumbers into large chunks then smash them with the side of a knife to break them apart. Pop them into a bowl or a pint jar. Once the vinegar mixture has come to a low boil (just a few bubbles on the sides and the sugar is melted) pour it over the cucumbers. Let rest until it’s time to eat.


STEP 3

Line a baking sheet with foil and pop the salmon on top of the foil. Pat it dry with a paper towel.

In a small bowl (I used a mortar and pestle) combine the miso, mirin, soy, and sesame oil. Blend until it’s a paste. Spread generously over the salmon. Pop into the oven and bake 10 minutes. Then turn up the heat and broil at 500 degrees for 5-10 minutes depending on the thickness of your salmon. To check, use a fork and pull back a small section - it should be flaky and the same color all the way through.


STEP 4

Serve the salmon over cooked rice with the ‘quickles’, edamame, pickled ginger, and kimchi.


Good Morning Muffins

Mr Hedin and I went on an anniversary trip a few years ago to a darling little mountain town where the winter is filled with cross country skiing and the summer is full of hiking. We went in April. There was neither snow nor warmth. It was not the best time to go to say the least. The highlight of the trip was the food. It was really our only great takeaway. And there was a hilarious interaction at the bar between a couple sitting across from us who clearly didn’t like each other - but loved their cans of beer. (The restaurant was fancy - not a “canned beer” kind of place)

These muffins were the star of breakfast. I try to eat something healthy for breakfast and these have fit the bill. They aren’t “health food” but they are a healthier option than almost anything else.

I don’t eat eggs, so I make them with an egg replacement - you can use store bought or apple sauce. But the eggs are a nice amount of protein for the morning.

Good Morning Muffins

Makes 18

2 cups flour

½ cup sugar

1 teaspoon baking soda

1 teaspoon baking powder

1 teaspoon cinnamon

¼ teaspoon salt

2 shredded carrots

½ cup raisins

½ cup chopped walnuts

½ cup flaked coconut

½ cup apple, shredded

3 eggs

½ cup coconut oil

1 8oz can crushed pineapple

2 teaspoons vanilla

STEP 1

Preheat oven to 350 degrees and line a muffin tin with 12 liners (or two with 18 total).

In the bowl of a stand mixer, combine all of the dry ingredients.

STEP 2

Add to the dry ingredients the carrots, raisins, walnuts, coconut and apple.  Mix gently to coat the dry ingredients over everything.

STEP 3

In a separate bowl, combine eggs, coconut oil, pineapple and vanilla.

STEP 4

Gently pour in the egg mixture into the dry ingredients and stir until incorporated.  Don’t over mix!

STEP 5

Bake muffins in lined muffin tin for 20 minutes until a toothpick comes out clean.

Store in an air tight container for up to one week.


Green Tomato Salsa Verde
Ali Hedin | Salsa Verde using green tomatoes

In Seattle, our window to grow tomatoes is short. If you don’t have your plants in the ground by early May, there’s no chance you’ll have very many ripe tomatoes. And then if it’s a cool summer, a rainy summer, or just a short summer, then you’re also out of luck. It’s a real risk to be a tomato farmer in the Pacific Northwest.

But totally one worth taking if you love tomatoes.

There’s a sunny side to this short season - green tomatoes! They are quite similar to tomatillos. So one year I tried making this salsa verde from our green tomatoes and I was pleasantly surprised at how delish it is! It’s just like when it’s made with tomatillos. And since I have a proliferation of green tomatoes - I can make a whole bunch of this to save for the winter.

Usually I freeze this sauce once it’s made. I have been known to can it as well, but that can be challenging. So why not just freeze it?!

Do you love Pork Verde as much as I do?! Here’s an easy weeknight dinner ready to go. Just defrost the sauce, simmer the pork in the sauce and serve with rice and beans.

green tomato salsa verde

5 pounds green tomatoes

2 jalapenos, sliced

1 large (or 2 small) onions, peeled and sliced

5 cloves garlic, peeled

2 tablespoons olive oil

1 large bunch cilantro

2 teaspoons cumin

1/2 cup chicken stock

salt

STEP 1

Preheat the oven to 400 degrees.

Chop the tomatoes into even pieces and spread them on a baking sheet. Add the onions, garlic and jalapeño to the sheet. Pour the oil over the top of everything and toss gently. Sprinkle with a healthy amount of salt. Pop it into the oven. Roast about 20 minutes until bubbly and toasty brown.

STEP 2

When the tomatoes are bubbly and getting a tiny bit brown on the edges, pull them from the oven. Scoop the entire pan of tomatoes, onions, jalapeños and garlic into a blender. Add the broth, cilantro, cumin and a bit more salt. Blend well.

STEP 3

Pour it over chicken, pork, or veggies. Or freeze for up to a few months! If you’re into canning, you can can this and keep it in the pantry.


End of Summer Corn Salad

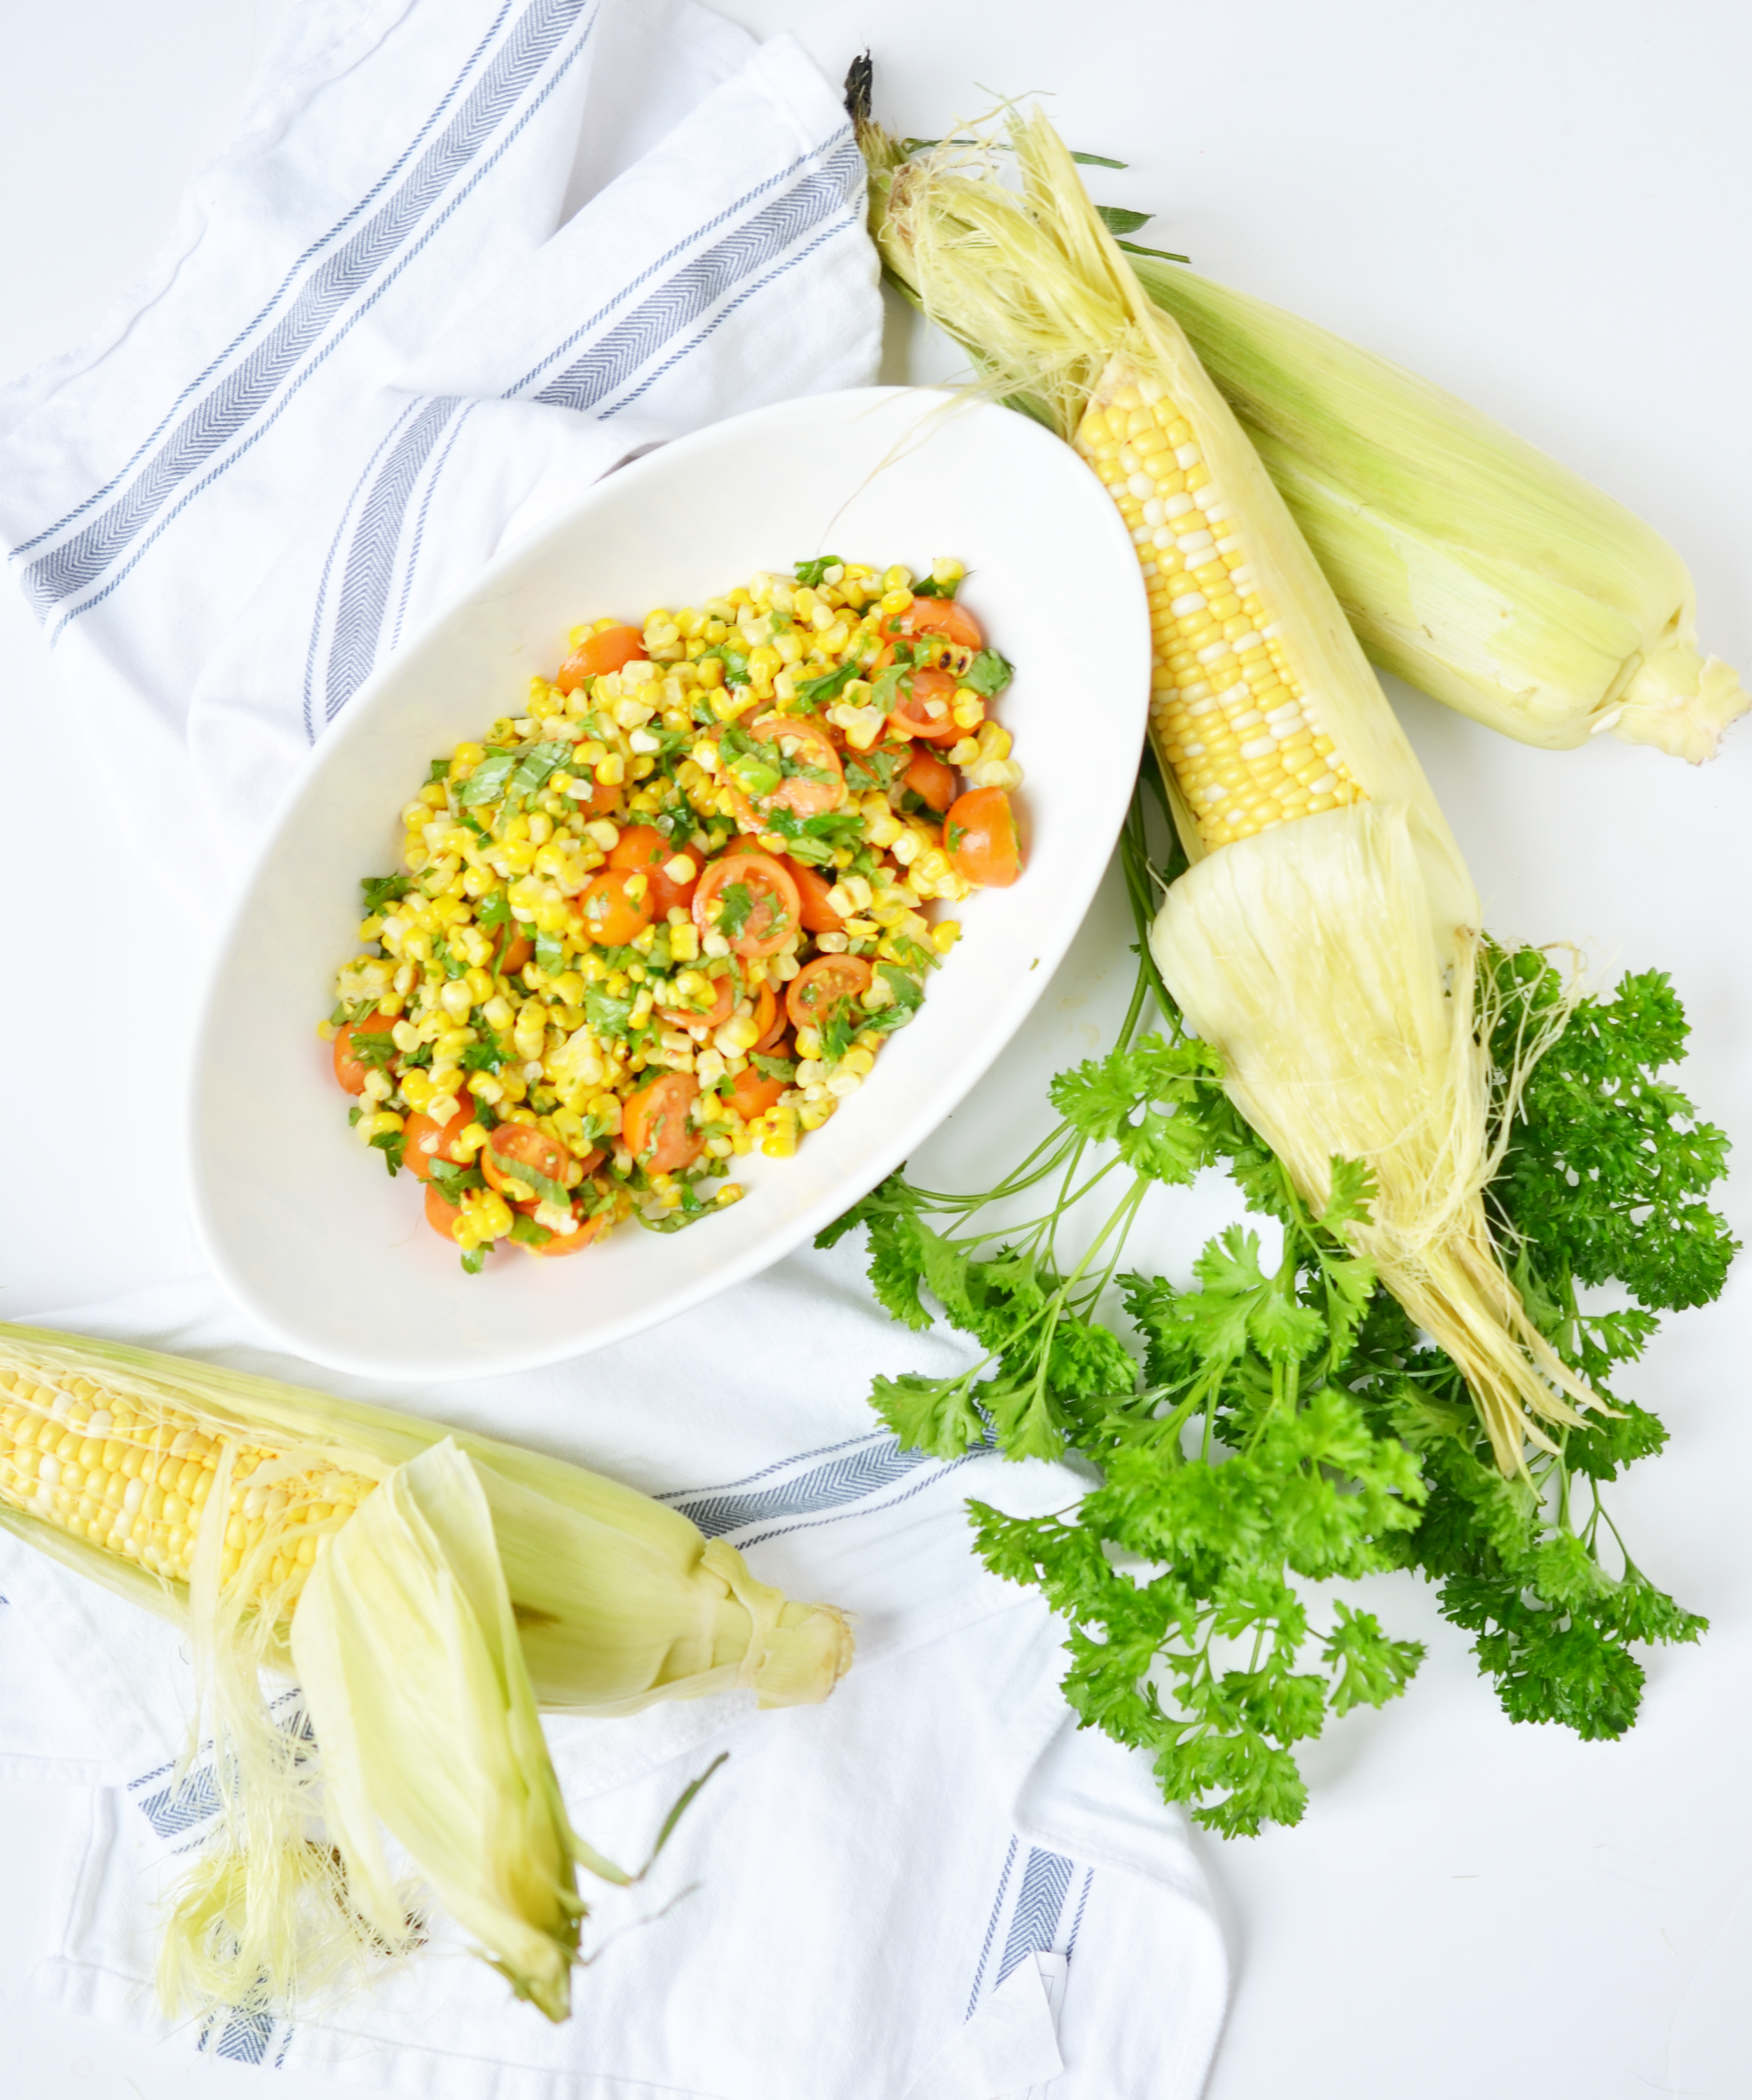
Can you believe summer is over? Luckily, the summer produce is still hanging around the markets - I just found the most epic corn last weekend! I made this salad to go with our Sunday dinner and I thought you might like it too. It’s so ridiculously simple so it barely requires a recipe but those are the best recipes! You can totally mix and match to make it your own.

Don’t have parsley? Use basil! Don’t have basil, use thyme! No herbs in the house? No sweat - this will be amazing no matter what. As long as your corn and tomatoes are fresh, then you’re set.

End of Summer Corn Salad

3 cups corn, off the cob (3-4 cobs)

2 cups sliced tomatoes

1/4 cup chopped parsley

1/4 cup chopped basil

2 tablespoons chopped thyme

2 tablespoons olive oil

1 tablespoon red wine vinegar

salt to taste

Mix everything together and let it rest for about an hour before serving. That’s it!


Farmer's Market Quinoa Salad

This is the ultimate mash up of everything good coming into farmer’s markets about now. Have you also seen the easiest way to make quinoa ever?? It’s microwaveable, won’t scorch, and is done in about five minutes.

I love putting almonds in this salad, but I am allergic. So when I pop them in, it’s for other people and not me. For myself, I put in sliced cashews, pecans, or walnuts. Pecans are my favorite, so they usually win out.

Farmer’s Market Quinoa Salad

Serves 4


1 cup uncooked quinoa, rinsed and drained

2 tbs chopped dill

¼ cup chopped basil

2 tbs chopped parsley

2 ears corn

½ pound green beans

½ pound snap peas

1 cup almonds, sliced

2 cups blackberries

½ cup plain yogurt

2 tablespoons champagne vinegar

4 ounces crumbled blue cheese

1 tablespoon chopped chives

1 tbs. milk

salt and pepper


STEP 1

Combine 2 cups water, quinoa, chopped herbs, and one teaspoon each salt and pepper in a microwaveable glass bowl that holds at least four cups.  Cover with tight fitting plastic wrap.  Pop into the microwave and cook for four minutes.


STEP 2

Remove plastic, stir, return to microwave for another four minutes – assuming all liquid has not been absorbed.  Depending on the strength of your microwave, this may take anywhere from four to twelve minutes.  Continue microwaving until most of the liquid has been absorbed.  Let rest ten minutes covered.


STEP 3

Bring a large pot of water to a boil.  Drop corn into water and cook 5 minutes.  Remove from water and add beans.  Cook 2-3 minutes until bright green and still crisp.  Drop the green beans into a bowl of ice water immediately.  Add the snap peas to the water and cook 2 minutes.  Remove from the water and drop them into the ice water as well.    


STEP 4

Drain beans and peas.  Cut the corn off the cob.  Toss all vegetables with quinoa, berries, and almonds. 


STEP 5

In a small bowl, whisk together yogurt, vinegar, blue cheese, chives, and milk.  Top the salad with dressing and toss again. 


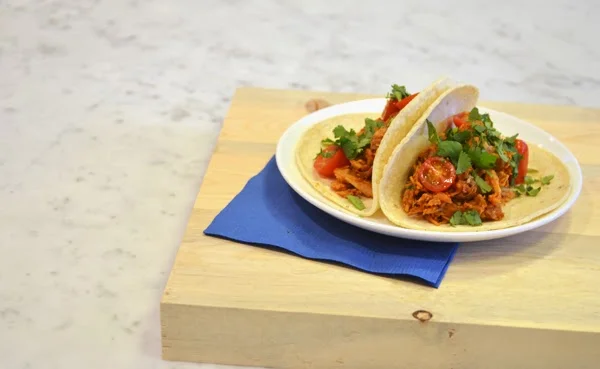
Weeknight Dinner | Fat Asparagus Tacos

I never saw the allure of fat asparagus. The skinny ones seemed much more fancy, the fat ones seemed too meaty. Then I got to have dinner with Alice Waters - yes, that Alice Waters - and she was going on about how much she loves fat asparagus. So it seemed worth a shot.

You guys, we have been missing out. Fat asparagus is where it’s at! And what’s amazing is that it is as meaty and tender as you’d hope. It works brilliantly as a meat substitute in these tacos. I’ve had it in tamales as well - amazing! It ‘s totally worth trying the giant ones.

If you live in the Pacific Northwest, then you know the good ones are coming in from eastern Washington right now. Scoop them up while you can! You won’t regret it.

Fat Asparagus Tacos

Serves 4


1 bunch really fat asparagus

3 avocados

1 tomato, chopped

¼ cup queso fresco, crumbled

1 can black beans or 2 cups beans, soaked

1 white onion sliced thin

1 bell pepper, sliced thin

8 tortillas

2 tbs cumin

¼ cup chili powder

salt

pepper

2 clove garlic, crushed

¼ cup pepitas

1 jalapeno

2 lime, juiced

½ cup greek yogurt


STEP 1

Preheat oven to 450 degrees.


Toss asparagus, bell pepper, and onions with 1 tbs cumin, 2 tbs chili powder, salt & pepper, garlic, and lemon juice.  Roast in the oven until tender.


STEP 2

In a blender, combine 1 avocado, 1 jalapeno, 1 clove garlic, the juice of 1 lime, and ½ cup greek yogurt.  Blend until smooth.  If it gets stuck, add 2 tbs milk. 


STEP 3

In a sauce pan, heat up the beans and add 1 tbs cumin and the remaining chili powder.  Season with salt and pepper as needed.


STEP 4

Scoop vegetables onto warm tortillas.  Top with beans, queso, pepitas, chopped tomatoes, and spicy avocado cream


Weeknight Dinner | Sheet Pan Pesto Chicken

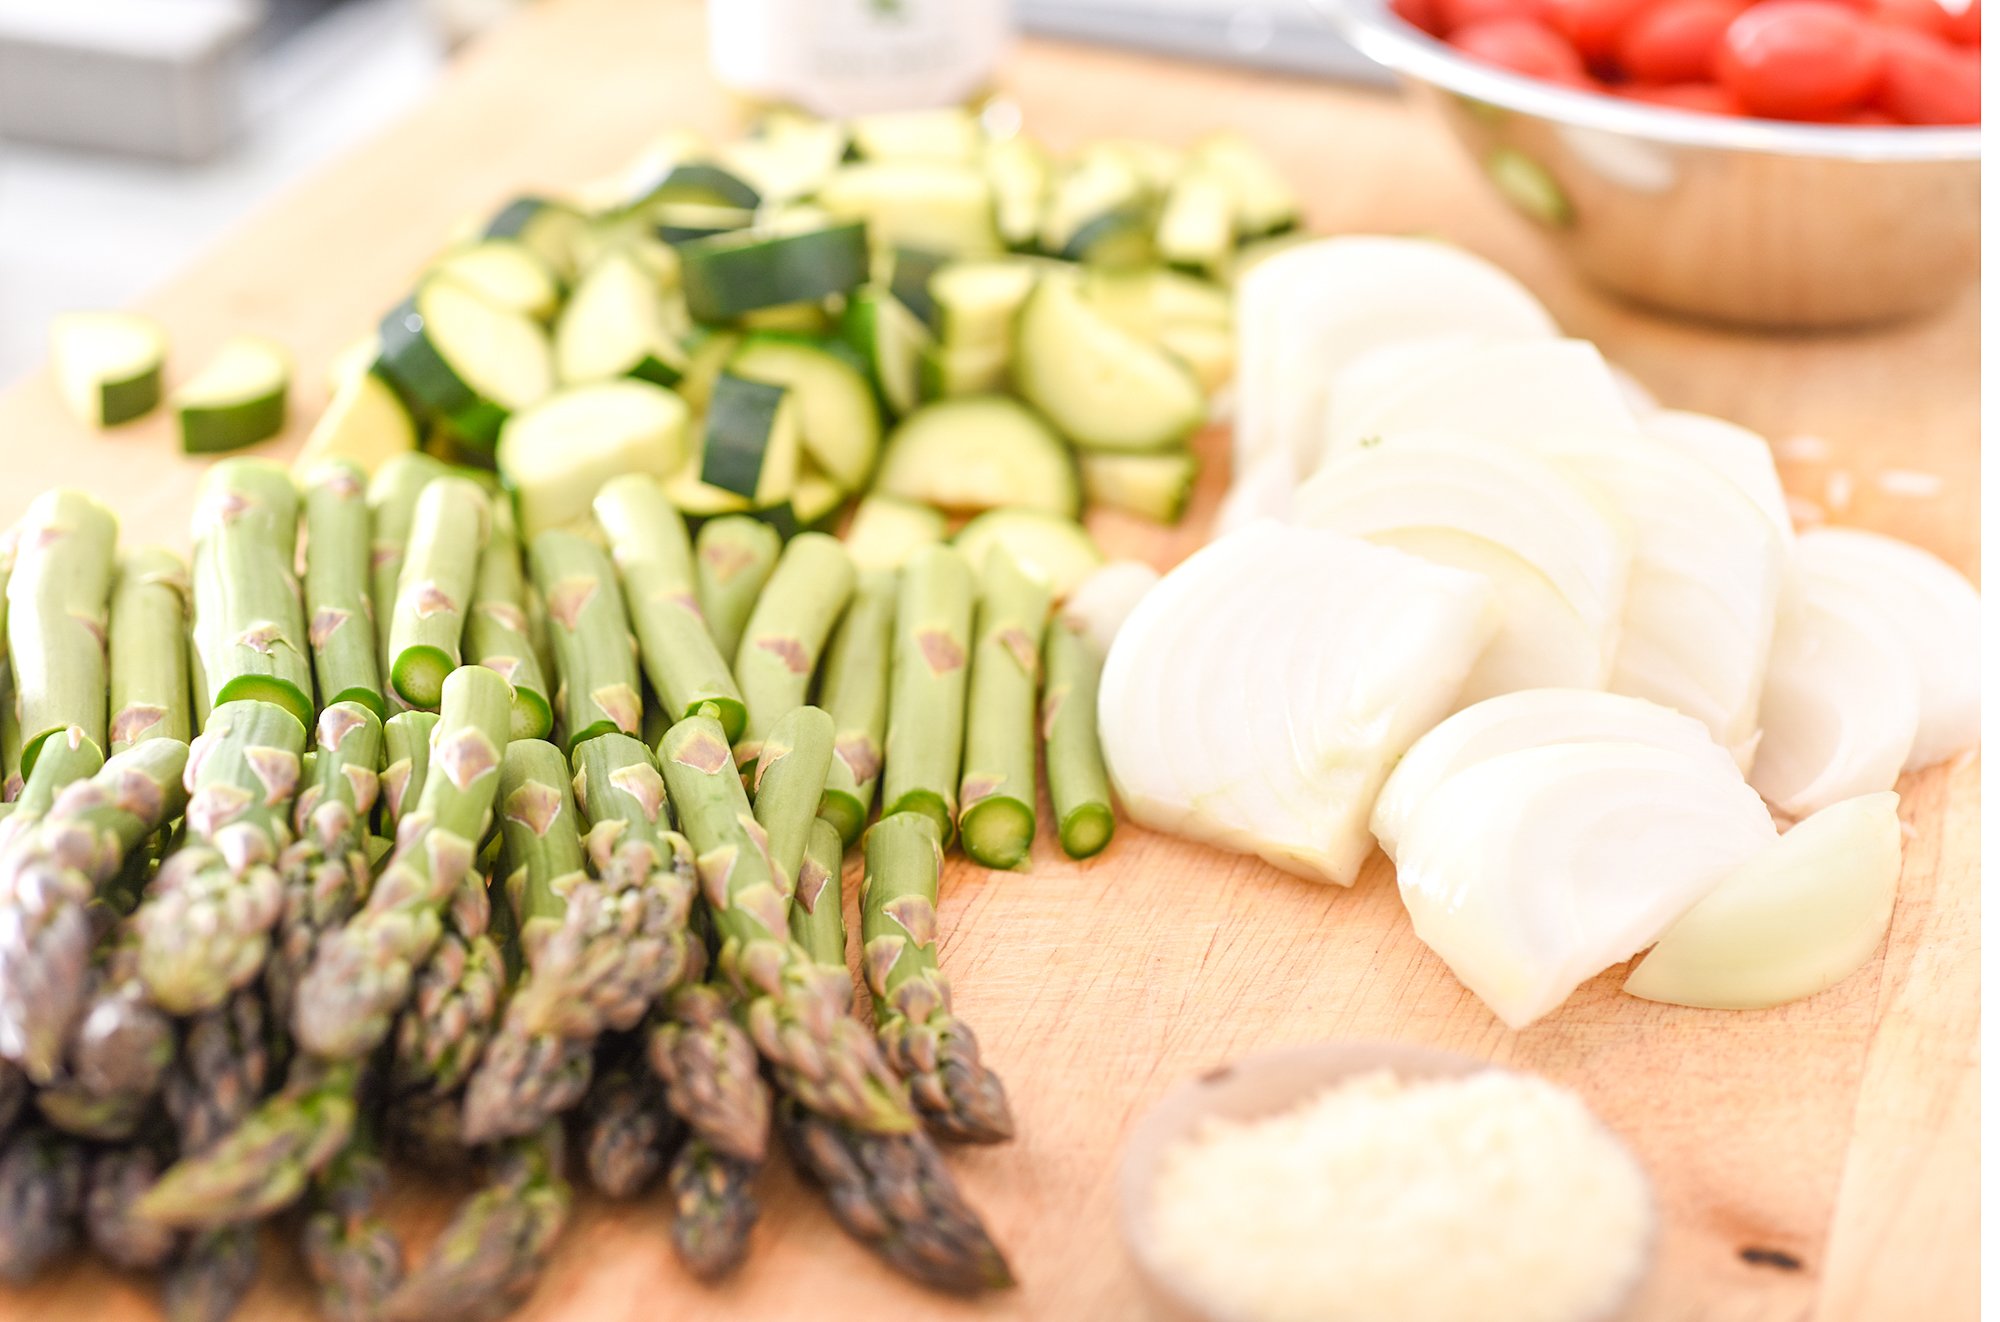
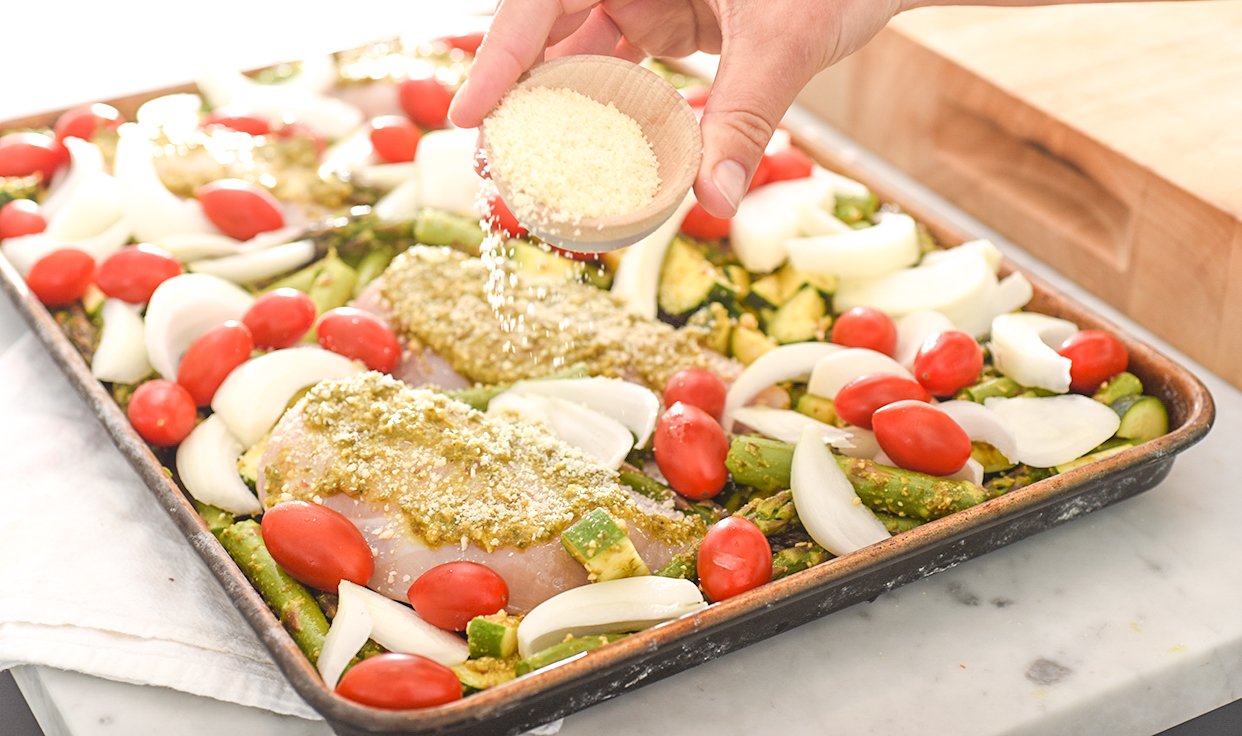
This time of year we are ridiculously busy. Between baseball games, tournaments, practices, robotics, scouting, and just trying to survive - dinner starts to take a back seat. I start relying on sheet pan dinners more and more and this one is a great spring time option. We don’t eat a lot of dairy at our house so I often use vegan pesto instead of traditional pesto and let the kids add their own parmesan cheese. I also HIGHLY suggest picking up the pesto at Costco. It’s not expensive and it tastes great - especially if you are baking it anyway.

Sheet Pan Pesto Chicken

serves 4


2 lb chicken breast, cut into strips

1 bunch asparagus, chopped

2 medium zucchini, chopped

2 cups cherry tomatoes

1 onion, sliced

½ cup pesto

¼ cup fresh basil

½ cup grated parmesan

salt and pepper


STEP 1

Preheat oven to 450.

 Toss asparagus and zucchini with half of the pesto. 


STEP 2

Place chicken breasts on a sheet pan and pour pesto vegetables around them. 


STEP 3

Sprinkle the top of the vegetables with onion and tomatoes.


STEP 4

Spread the top of each chicken breast with the remaining pesto.


STEP 5

Sprinkle half of the parmesan over the top of everything and pop into the oven for 15-20 minutes until thermometer reads 160 degrees.  Serve with extra cheese.


This goes perfectly with…

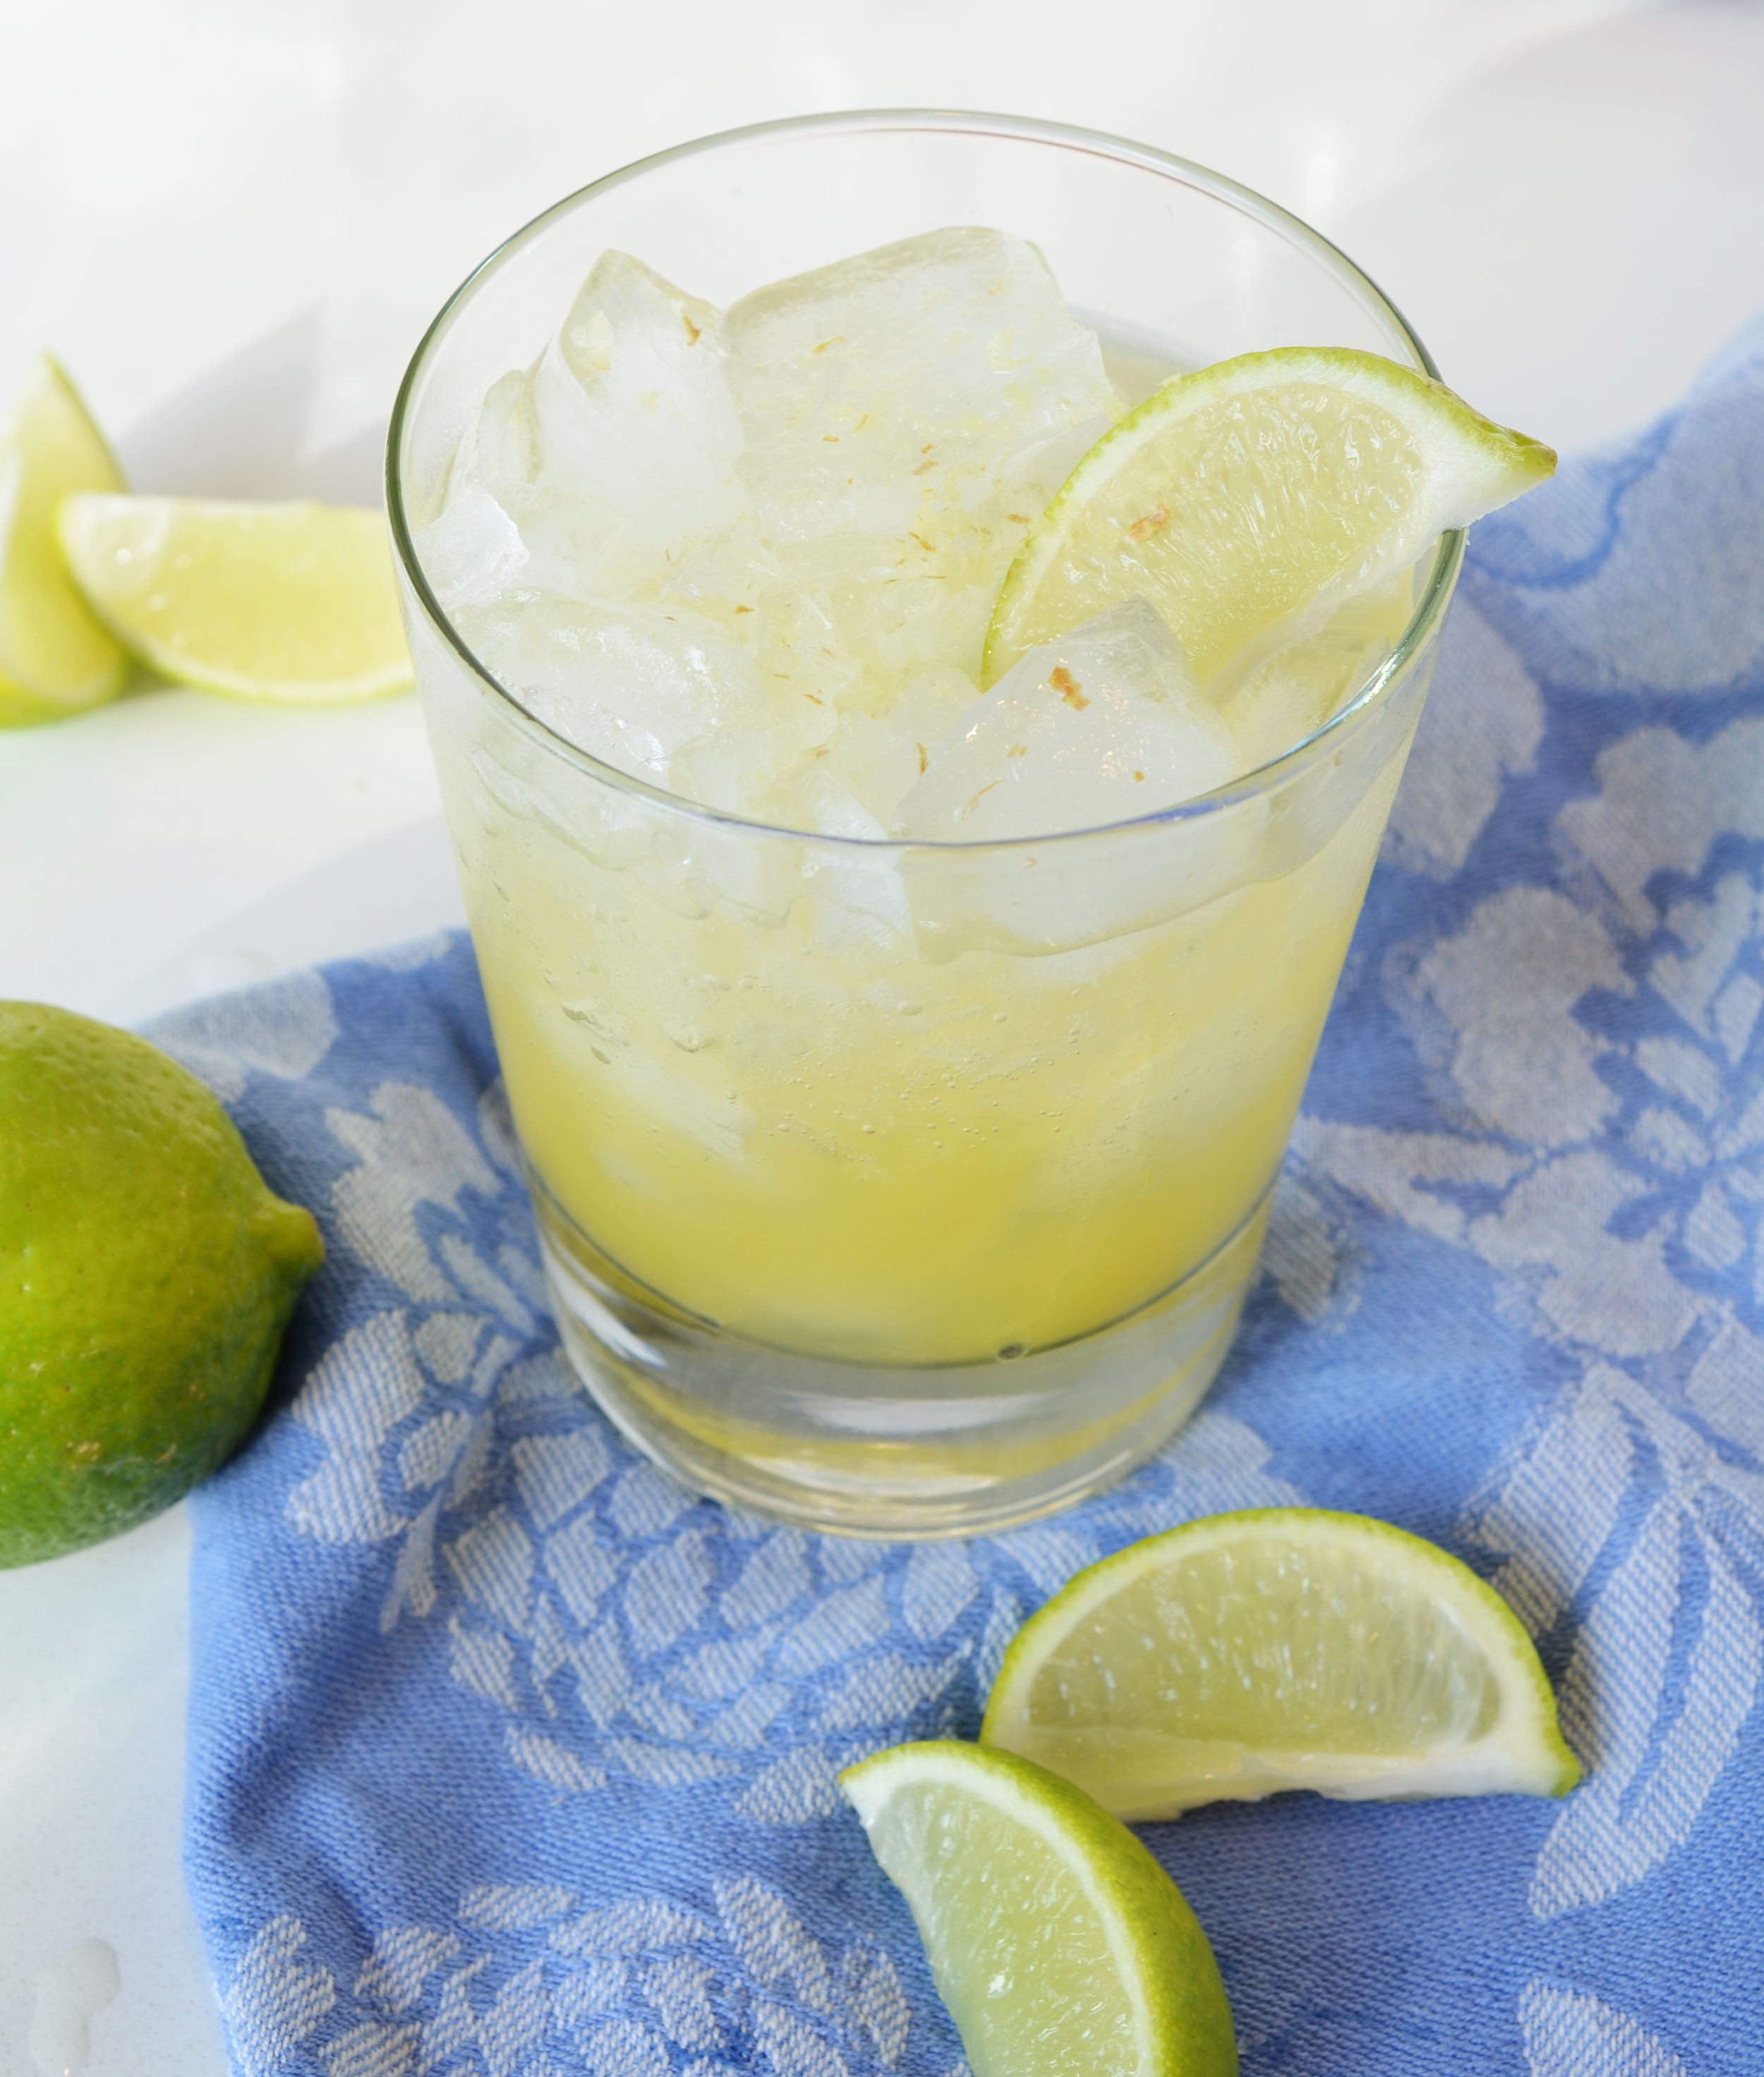
A lemon infused vodka soda that you are going to LOVE! Click here for the recipe.

Winter Minestrone

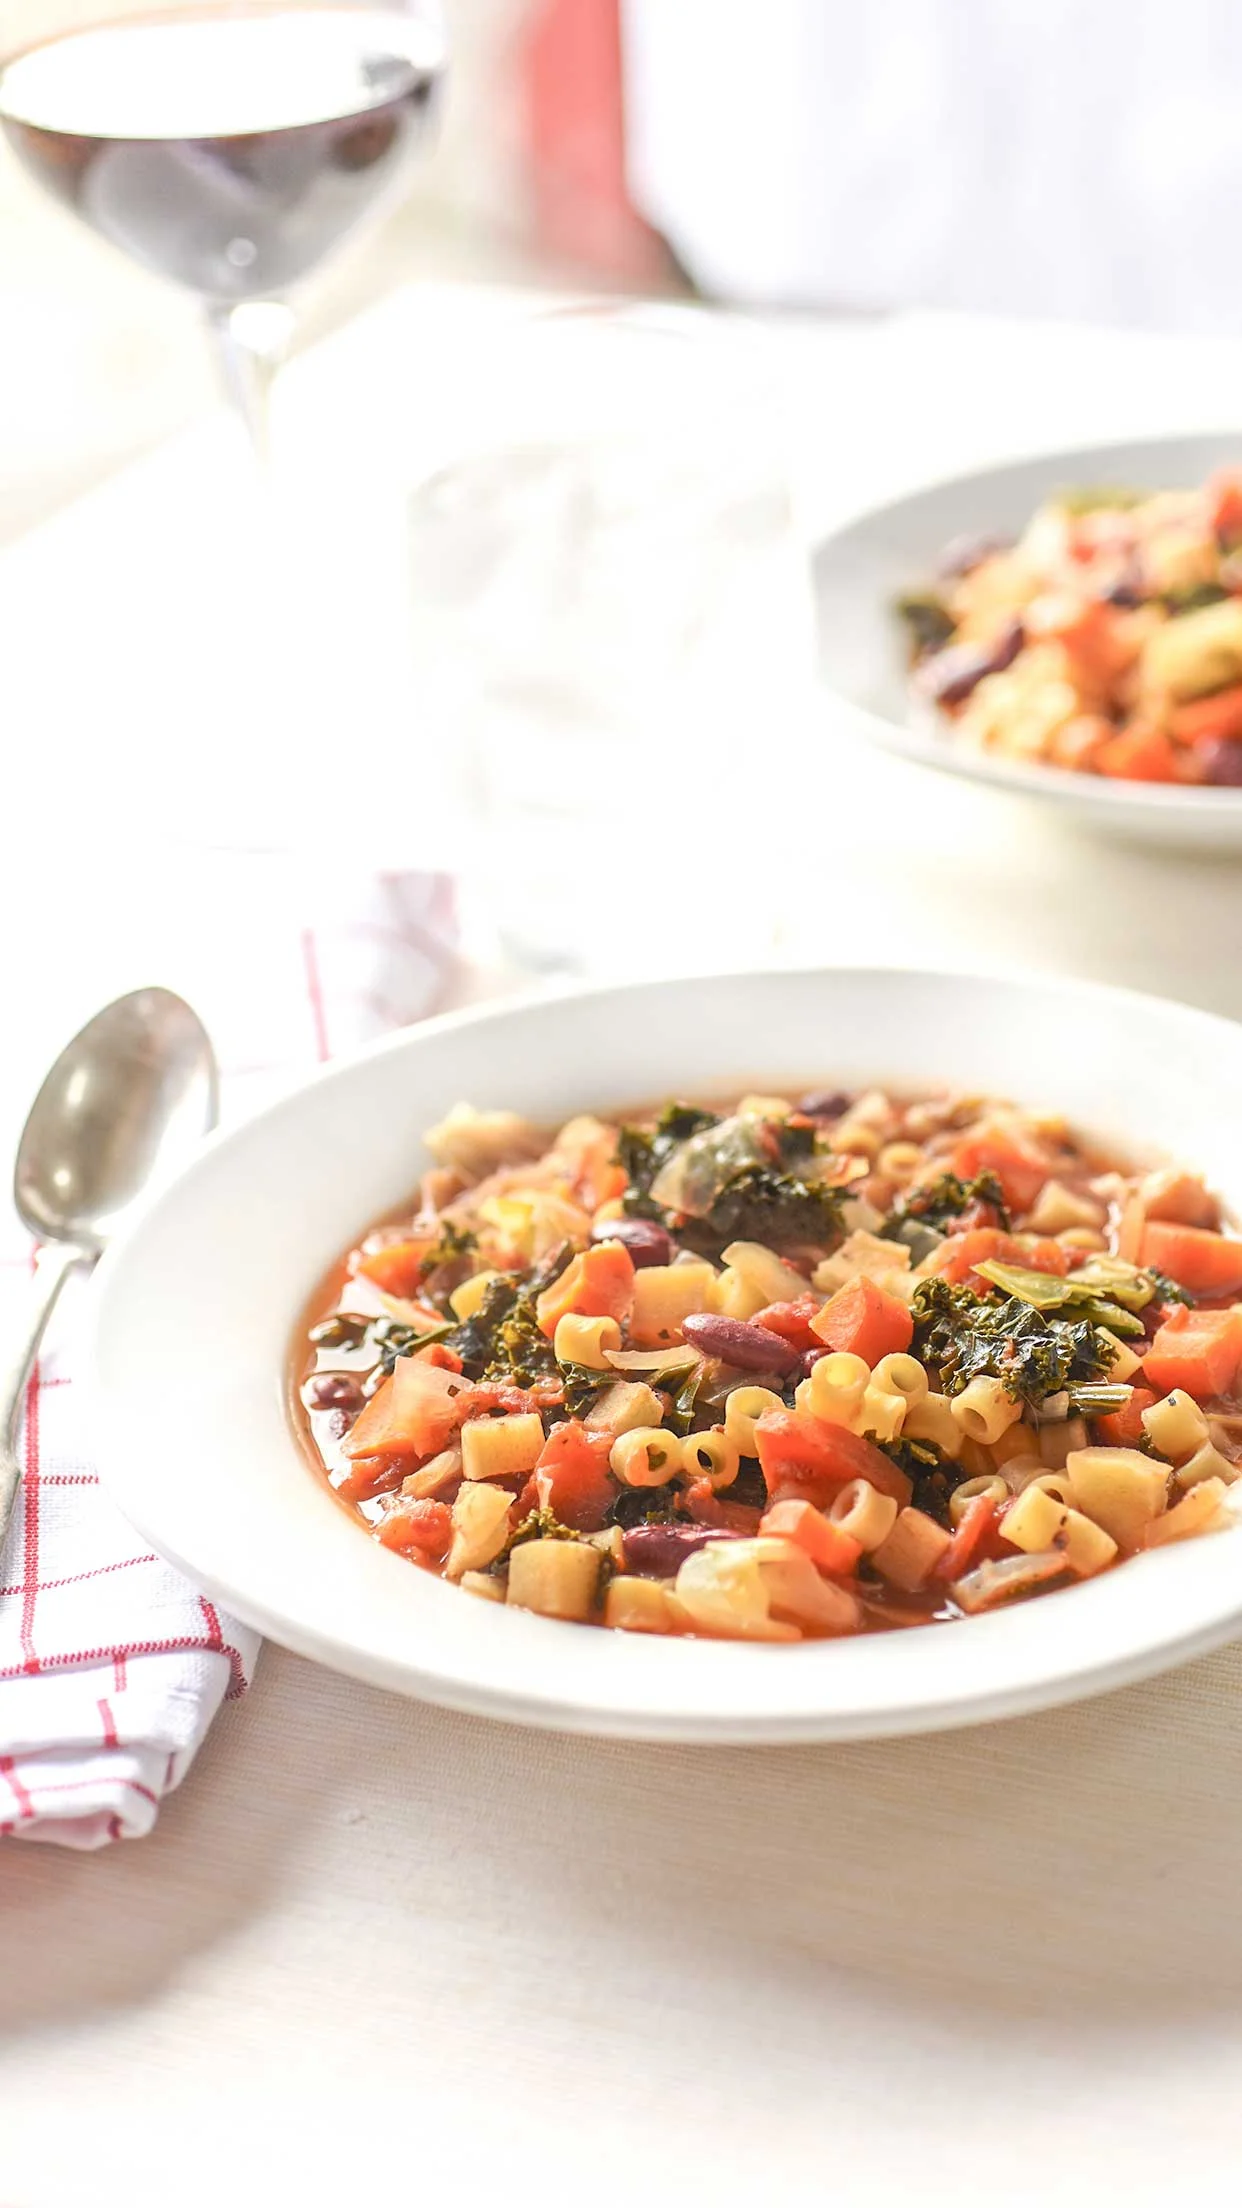
When I was a little girl, my aunt made a minestrone soup for every big family event.  It was her thing.  And it was so good.  As I got older, I realized that most of the soup was cans of things; cans of beans, cans of tomatoes, cans of vegetables etc. and I don't love cans of things.  There is no way to avoid a few of the cans but I can add more vegetables - like real ones - and bulk up the health factor.  

Ali Hedin | Winter Minestrone

This time of year I'm in the mood to eat healthier but I feel like the weather is constantly challenging me.  When it is cold and grey and rainy in Seattle, all I want is a giant bowl of something hot and creamy that comes with a side of bread.  That's not the best way to make my body feel healthier - and let's be honest, my spring Palm Springs trip is coming up fast and my winter body is not exactly a bikini body.  A soup that's filled with vegetables gets me over that craving and feeling better about myself.  Only four months to Palm Springs!

This makes a boat load of soup.  It's a recipe I wrote for four people and it's what I make for 4-6, but realistically, you've got lunch for days.  And it's easily frozen.  

Ali Hedin | Winter Minestrone

WINTER MINESTRONE SOUP

Serves 4


STEP 1

In a large stock pot, cook onion, parsnips, carrots, 2 cloves garlic until onions are is soft.


STEP 2

Add tomatoes & beans & spices.  Stir to incorporate


STEP 3

Pour in stock and bring to a boil.


STEP 4

Add noodles, kale and cabbage and cook until noodles are done.  Season with salt and pepper. Serve with parmesan cheese on top.


1 onion

2 parsnips

3 carrots

2 cloves garlic

2 cups kale, chopped

2 cups cabbage, chopped

1 15oz-can kidney beans

1 15oz-can garbanzo beans

1 28oz-can diced tomatoes

6 cups vegetable stock

2 tsp dried oregano

2 tsp dried basil

2 cups noodles

salt and pepper

½ cup parmesan cheese


Ali Hedin | Winter Minestrone

Sage Barley Risotto with butternut squash
Sage Barley Risotto - Risotto made with barley instead of rice and filled with fall flavors!

My entire family adores risotto. It’s a huge hit at our house so I make it a ton and do my best to add vegetables and anything healthy to try to spike it up! I discovered you can make any grain risotto style so I started experimenting with turning healthier grains (like barley!) into one of our favorite dinners.

It turns out that you can make amazing risotto out of barley and it tastes just as creamy and delicious as the OG arborio version. For the fall, I spiked it with sage leaves and topped it with roasted butternut squash. Make it even easier on yourself and buy the squash already cubed. That makes this about a 20 minute dinner! Hooray!

Made with barley instead of rice, this risotto is perfect for the fall.

Sage Barley Risotto

With butternut squash

Serves 4


1 small butternut squash, peeled and cubed

1 ½ cups pearl barley

6 cups vegetable stock

1 small onion, chopped

2 cloves garlic, smashed

¼ cup olive oil, divided

½ cup white wine

¾ cup asiago cheese, grated

¼ cup sage leaves

1 tsp red wine vinegar

salt and pepper


STEP 1

Preheat oven to 450 degrees.  Peel the squash and chop into cubes. Place squash on a baking sheet lined with aluminum foil and drizzle with olive oil to coat.  Sprinkle with salt and pepper and pop into the oven.  Bake 15-20 minutes until browned.


STEP 2

Cook onion in a large saucepan over medium low heat with olive oil, garlic and sage until onions are translucent. 


STEP 3

Add barley and cook about 2 minutes until coated with oil.  Add white wine and cook until bubbly.  Add one cup of stock.  Stir regularly until all liquid is absorbed.  Add another cup of stock.  Continue stirring and adding broth, one cup at a time until all stock has been used. 


STEP 4

Stir in ½ cup cheese, red wine vinegar, and season with salt and pepper.


STEP 5

Remove squash from oven and stir into the risotto.  Serve hot with extra cheese on the side.

Made with barley (more fiber!) and filled with your favorite fall flavors.  You're going to love this healthy fall dish.