The combination of lemon and capers is a family favorite. When I was growing up we loved it - and it turns out it’s genetic. This is easily a comfort dinner around our house. The sauce is perfectly pickled with the capers and a little of the caper brine and cut with the lemon zest and butter.
We are a dairy free/dairy light family so I use fake butter when I do this. And then this is a dish that would probably be epic with parmesan cheese. I’ve tried it - it is epic. But it’s not something I can serve our family. If you are a cheese family, blend a little in when you add the spinach and then top with more! You won’t regret it, unless you are dairy free and it wreaks havoc on your system!
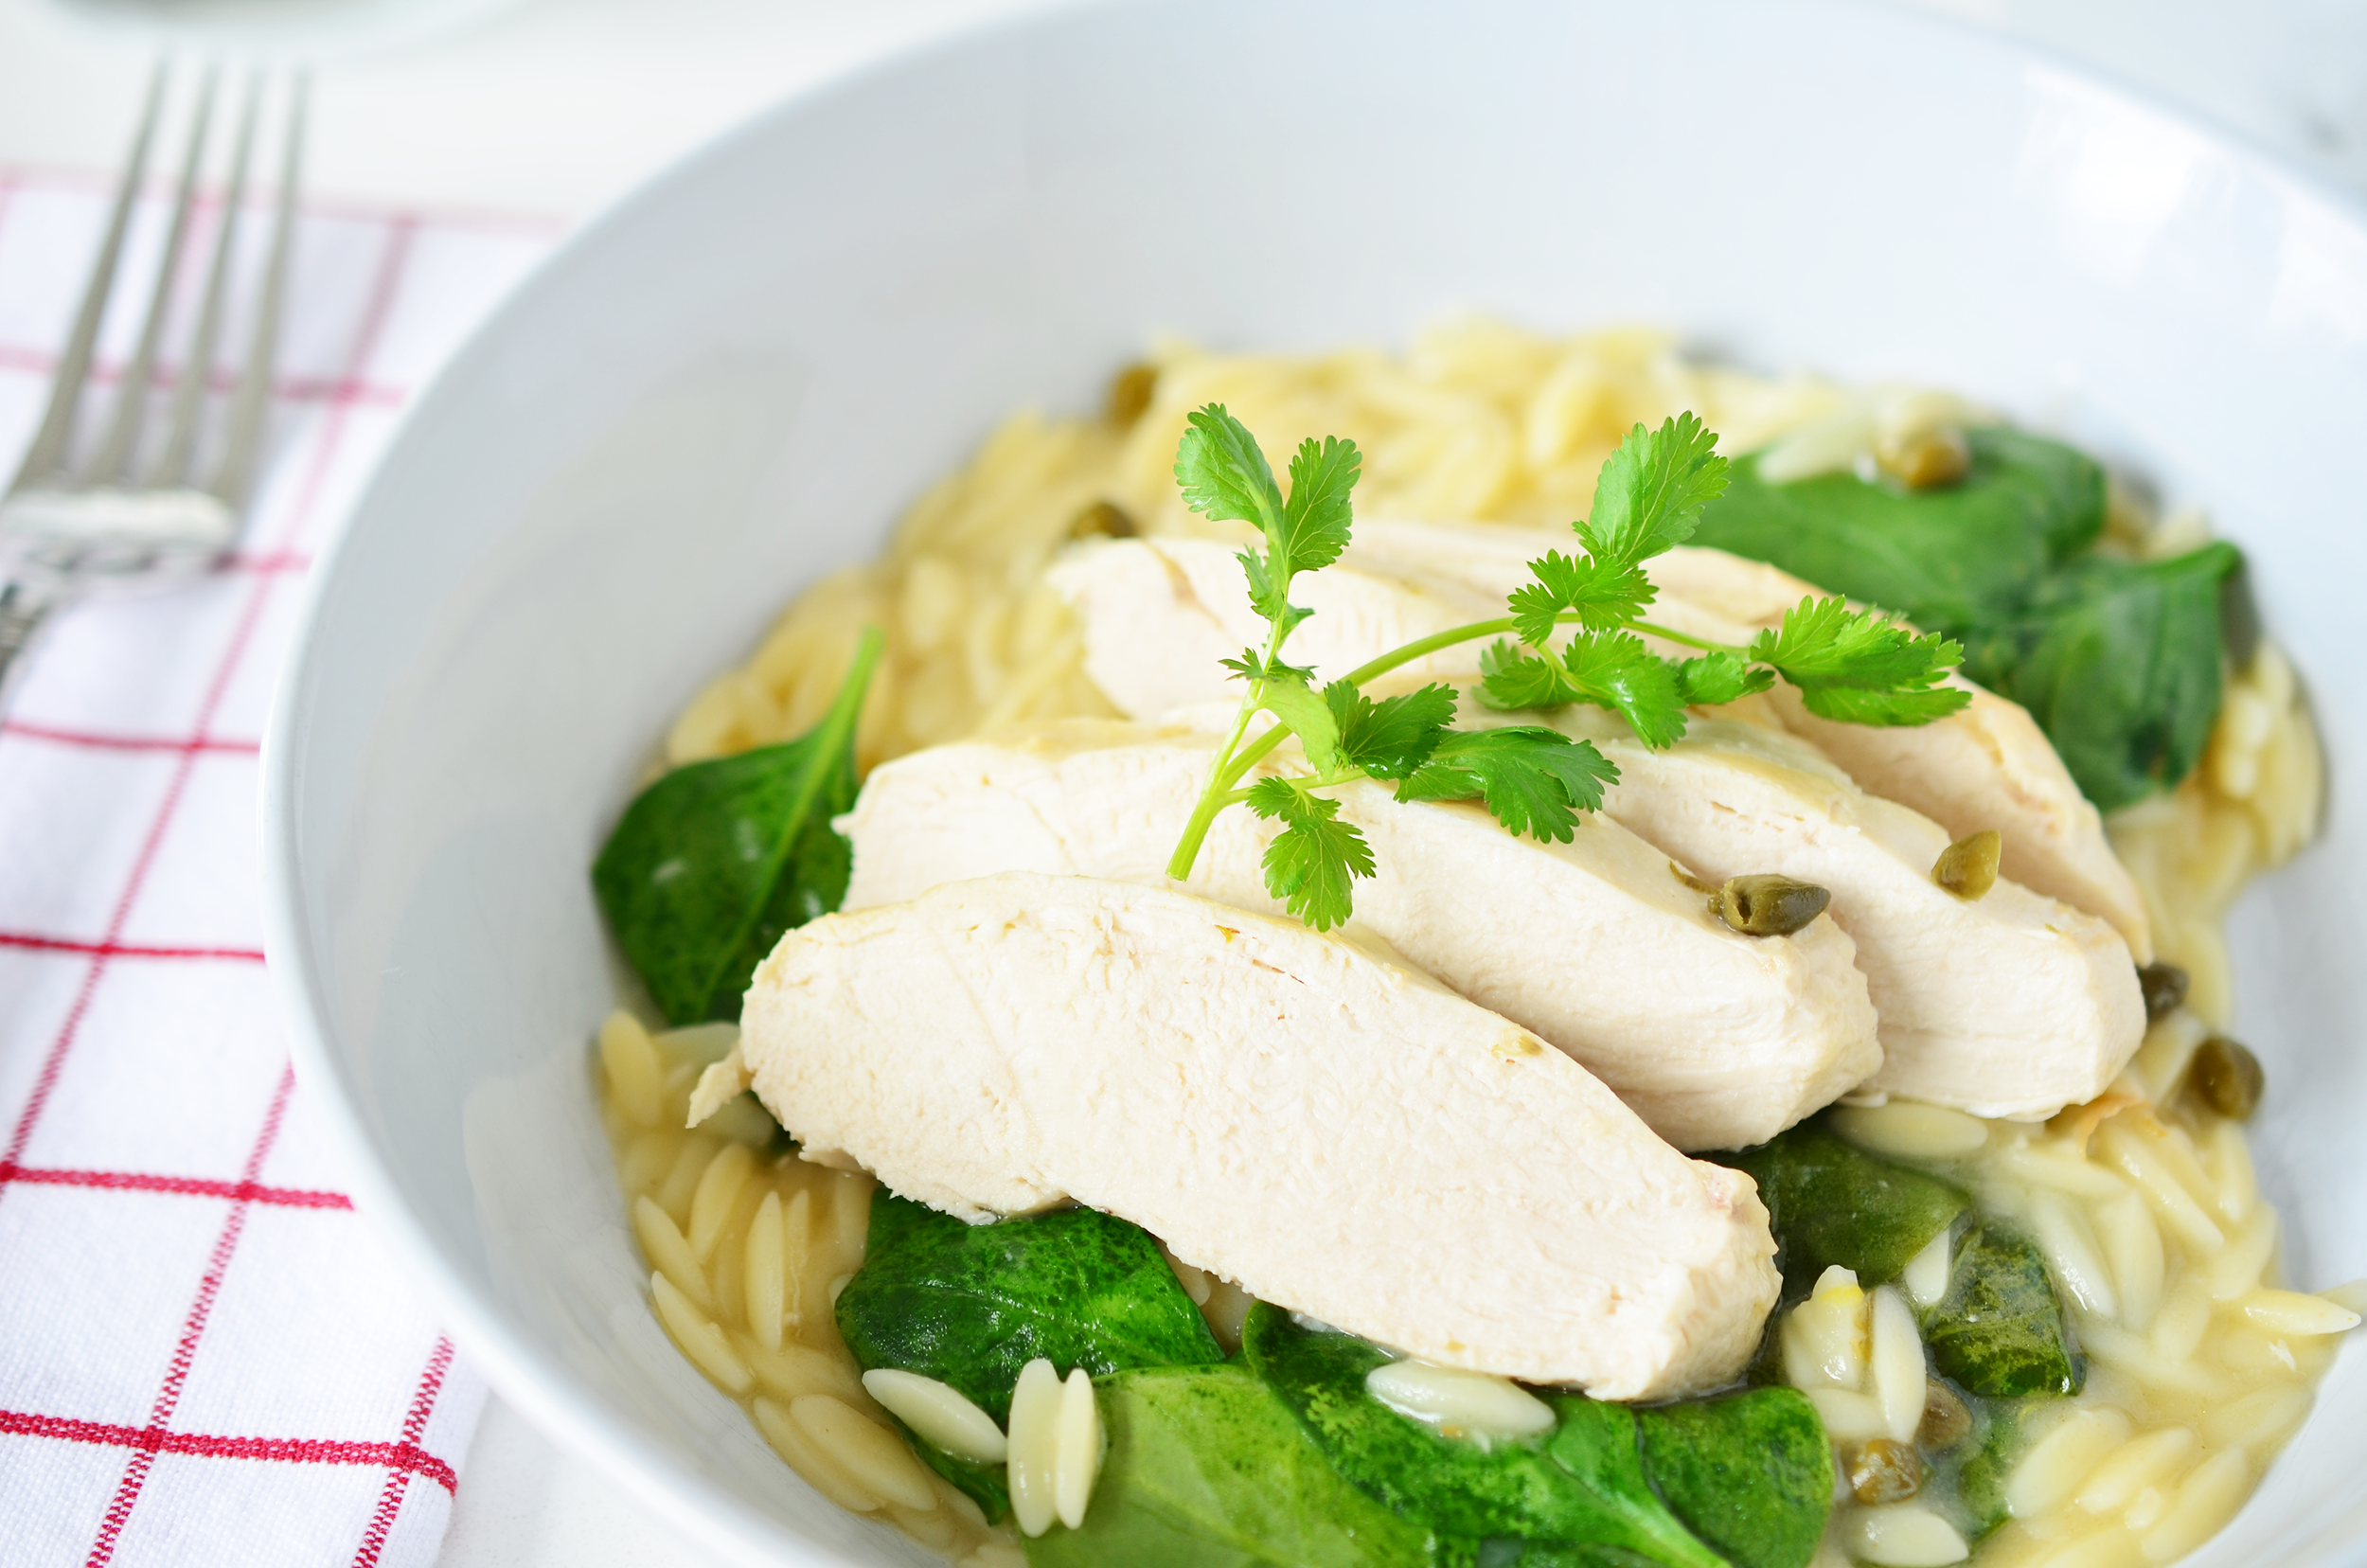


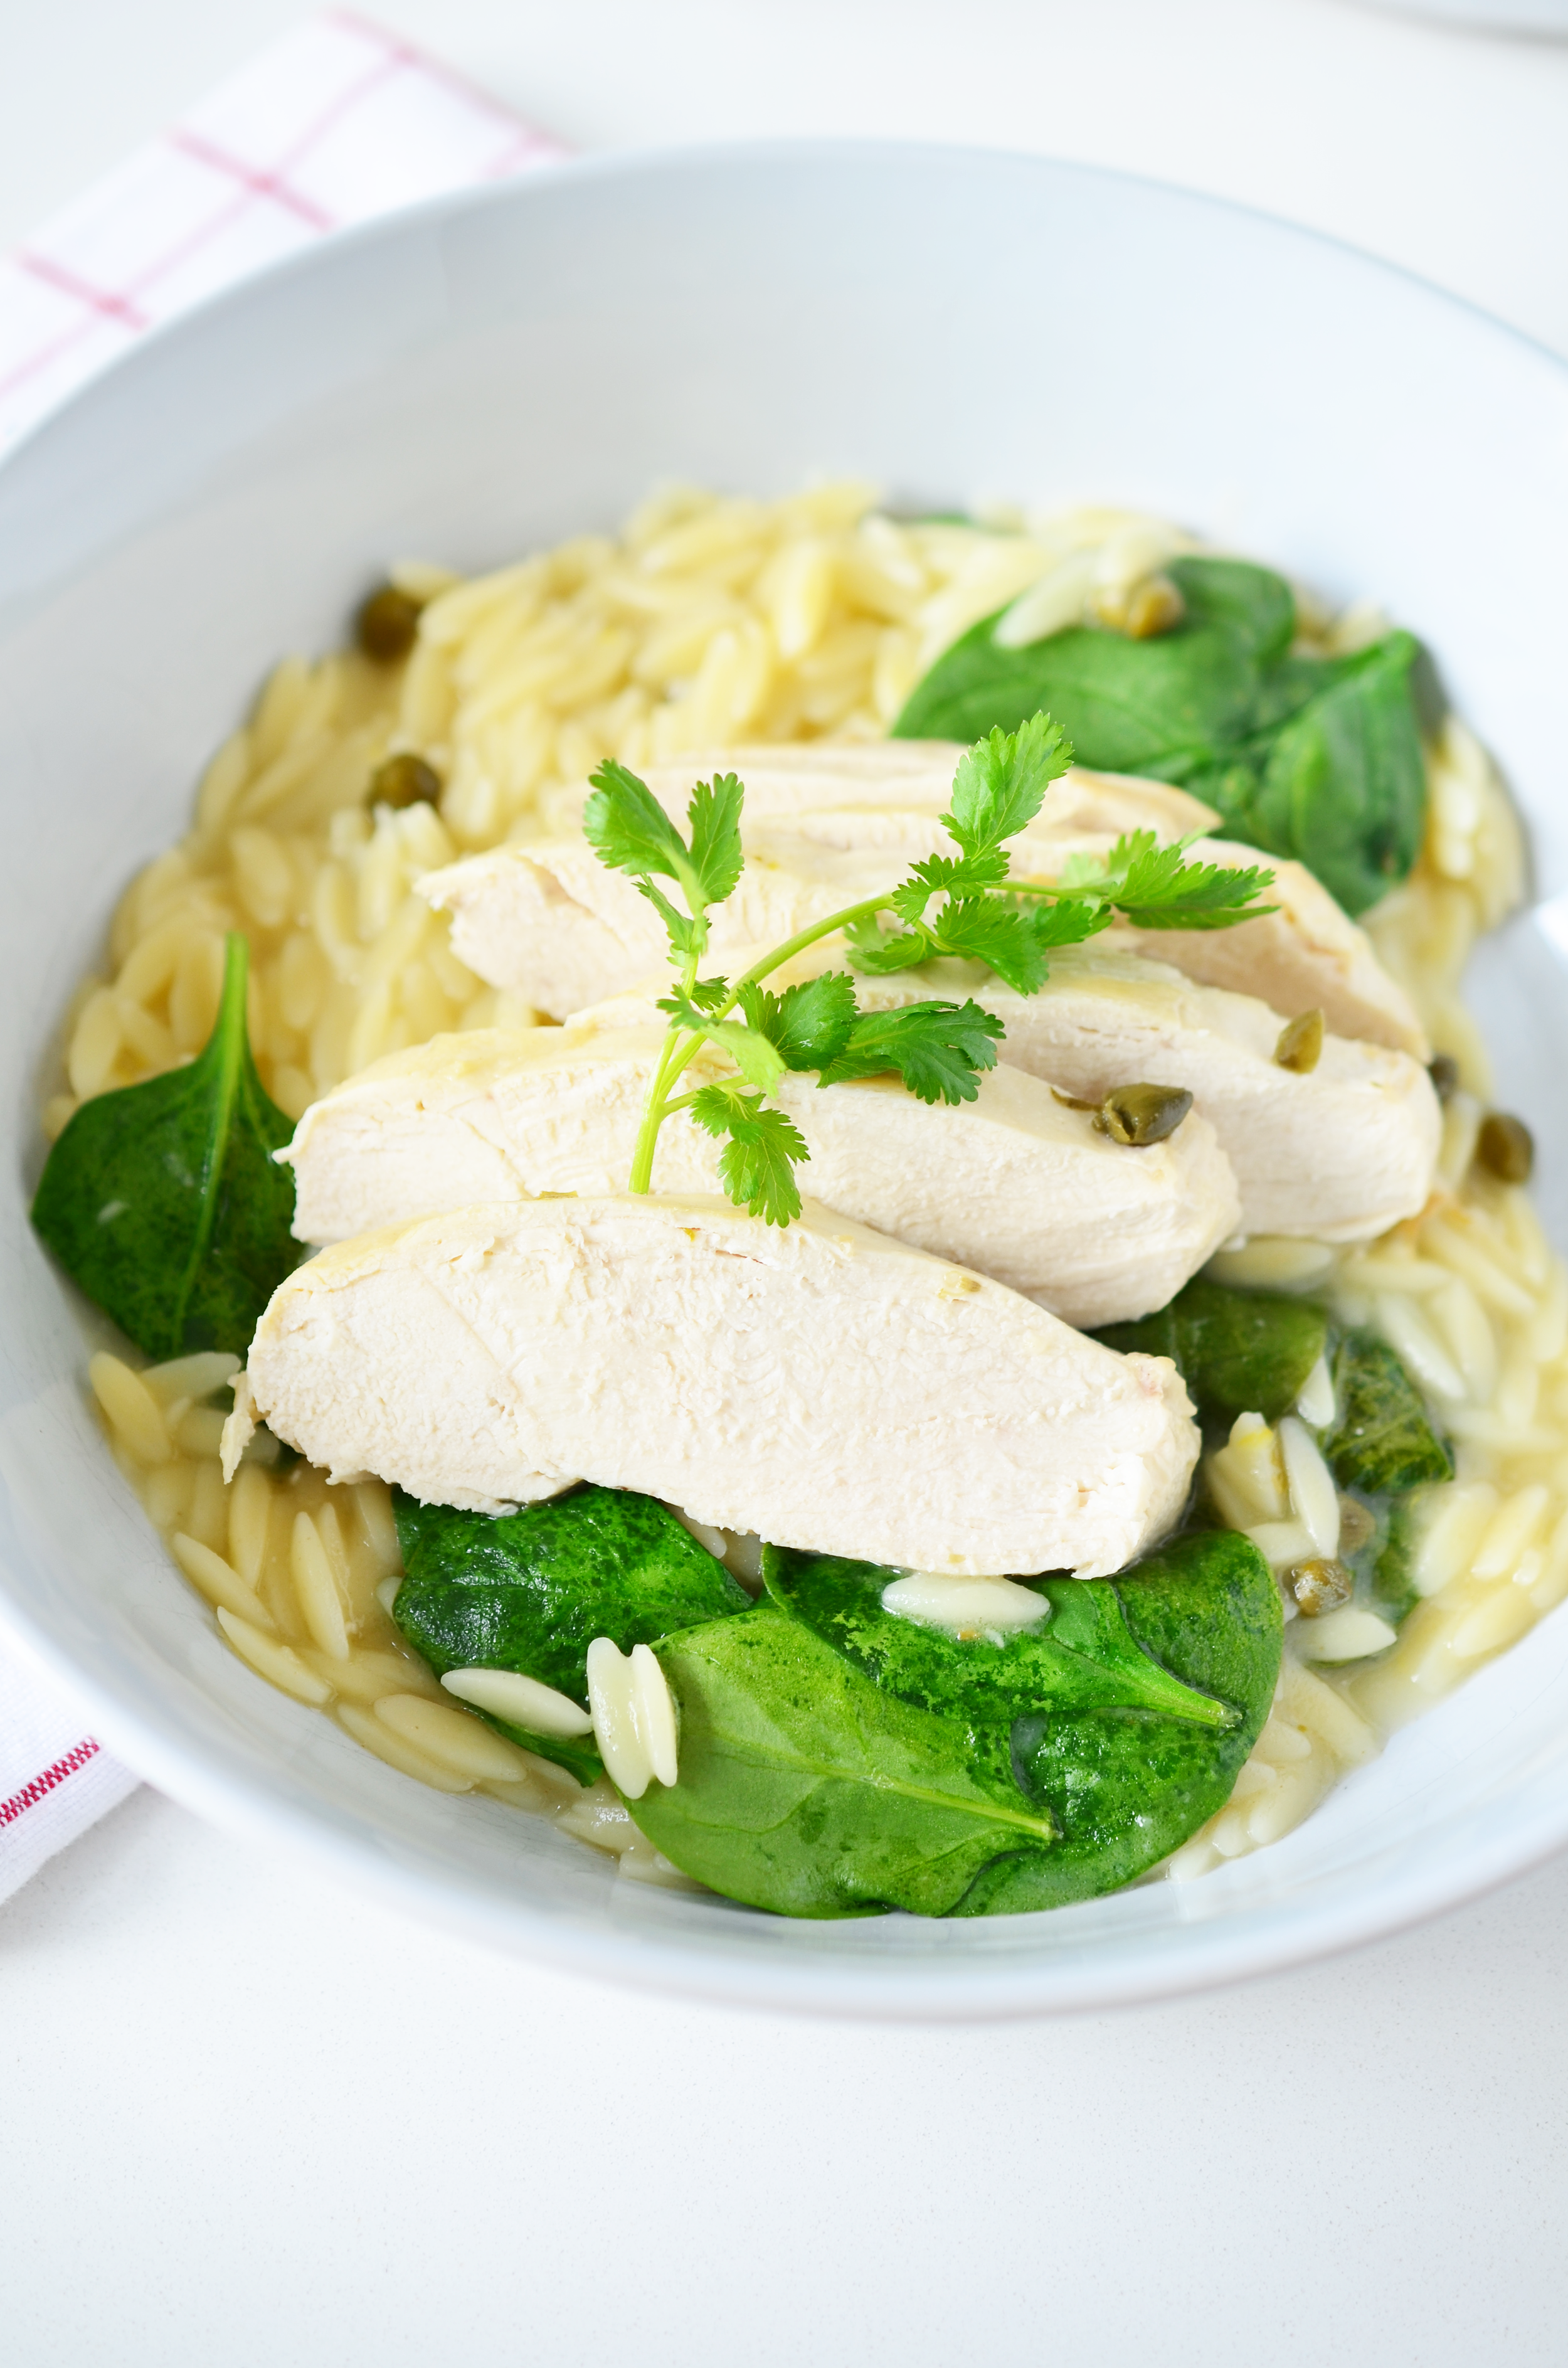
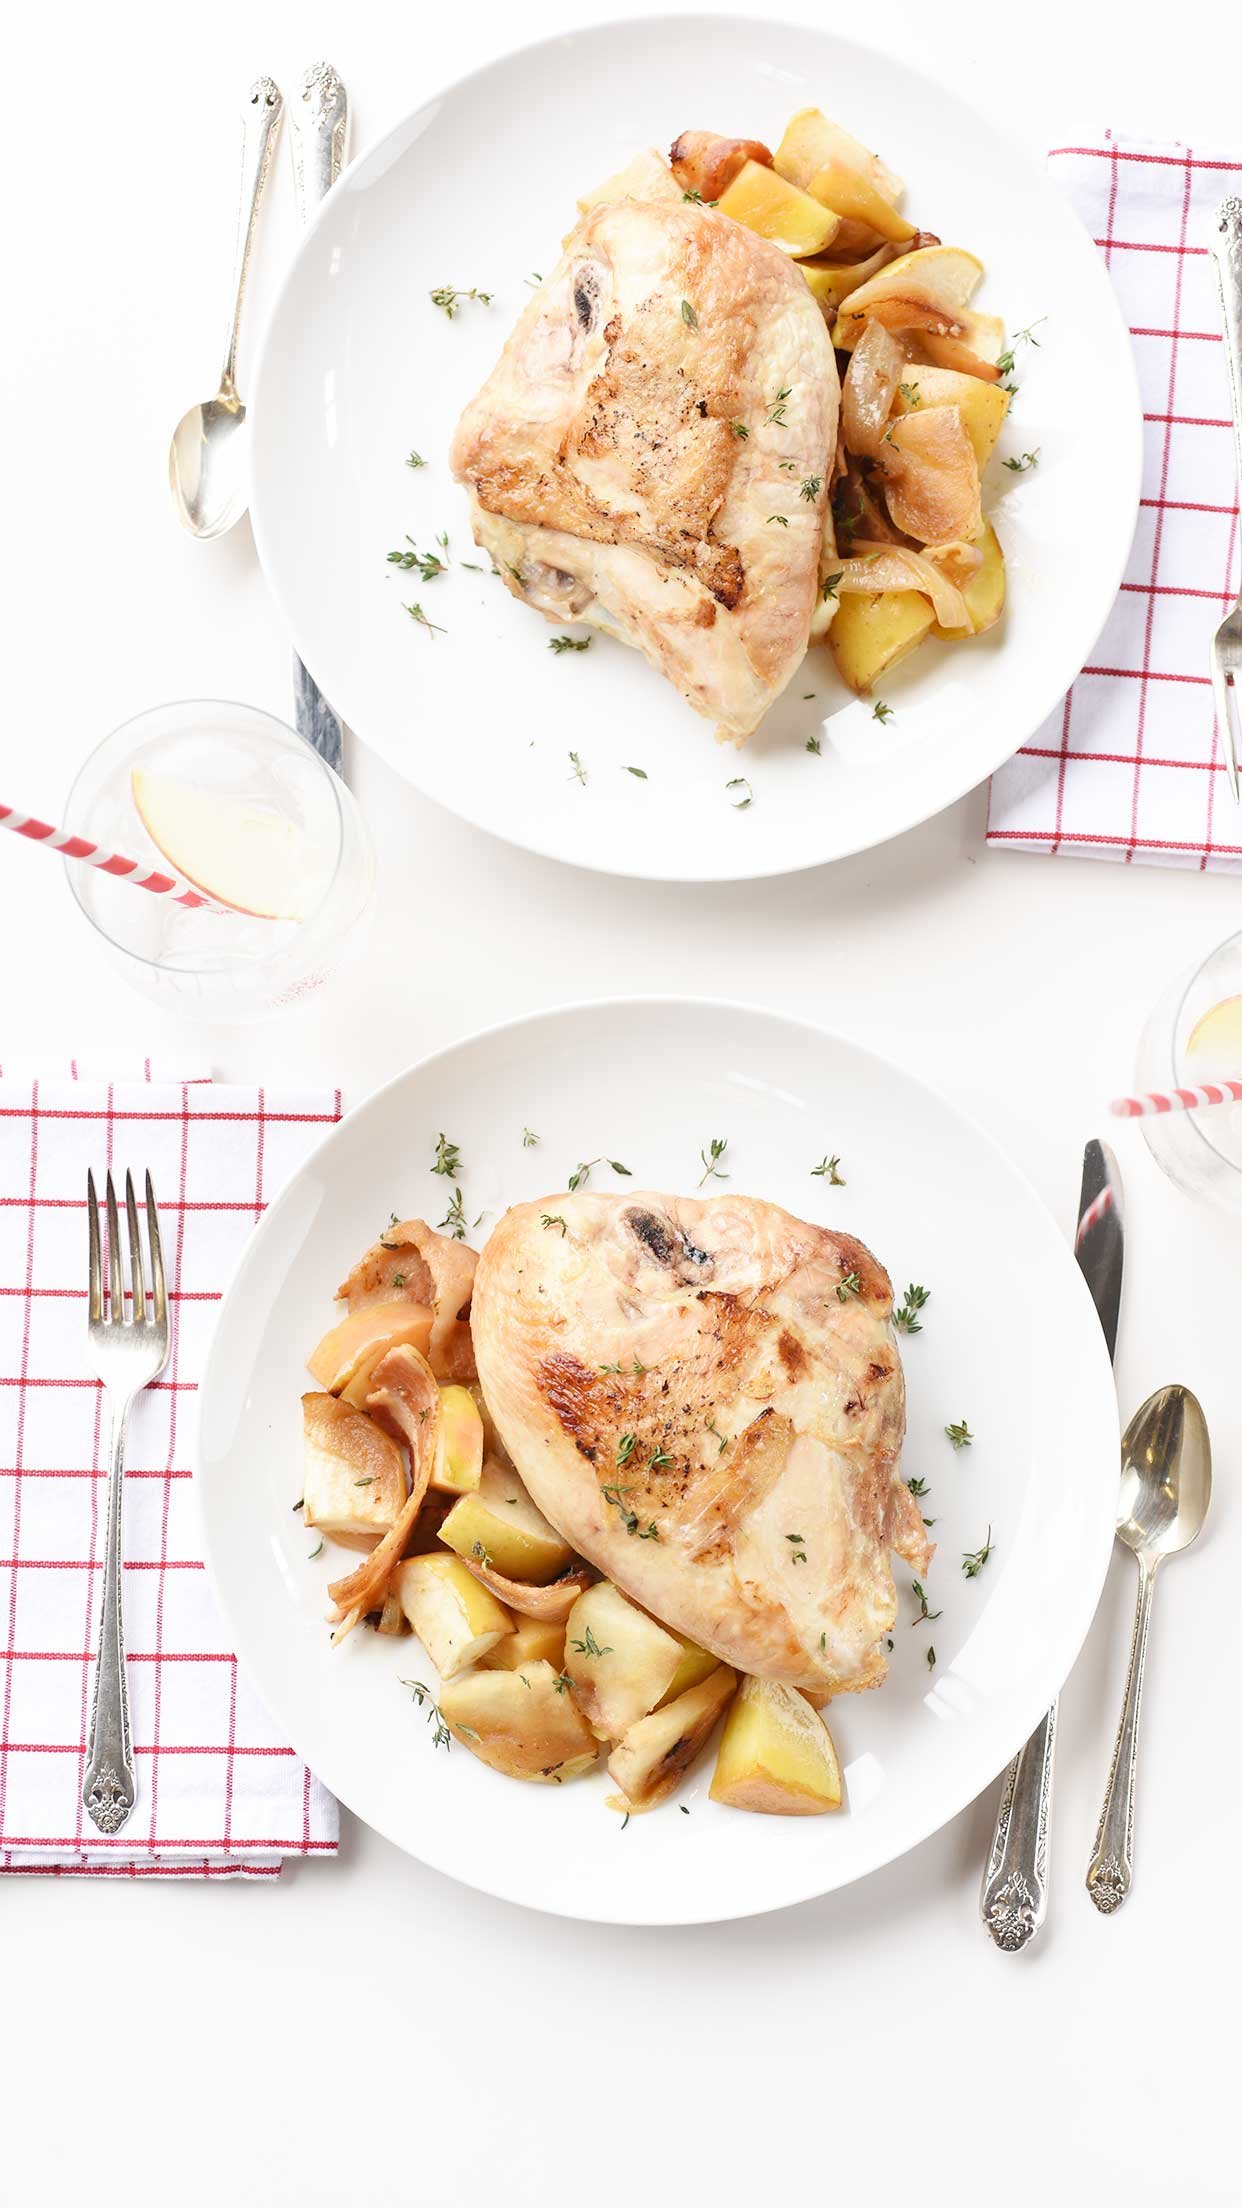
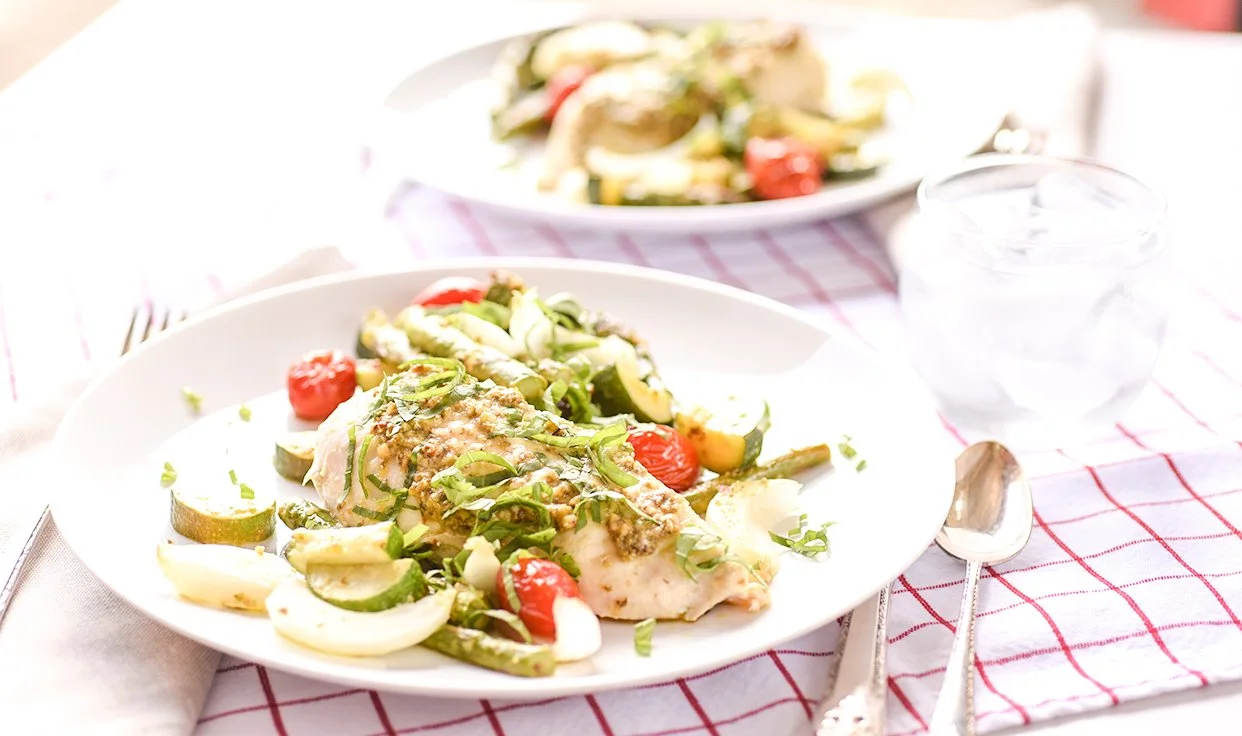
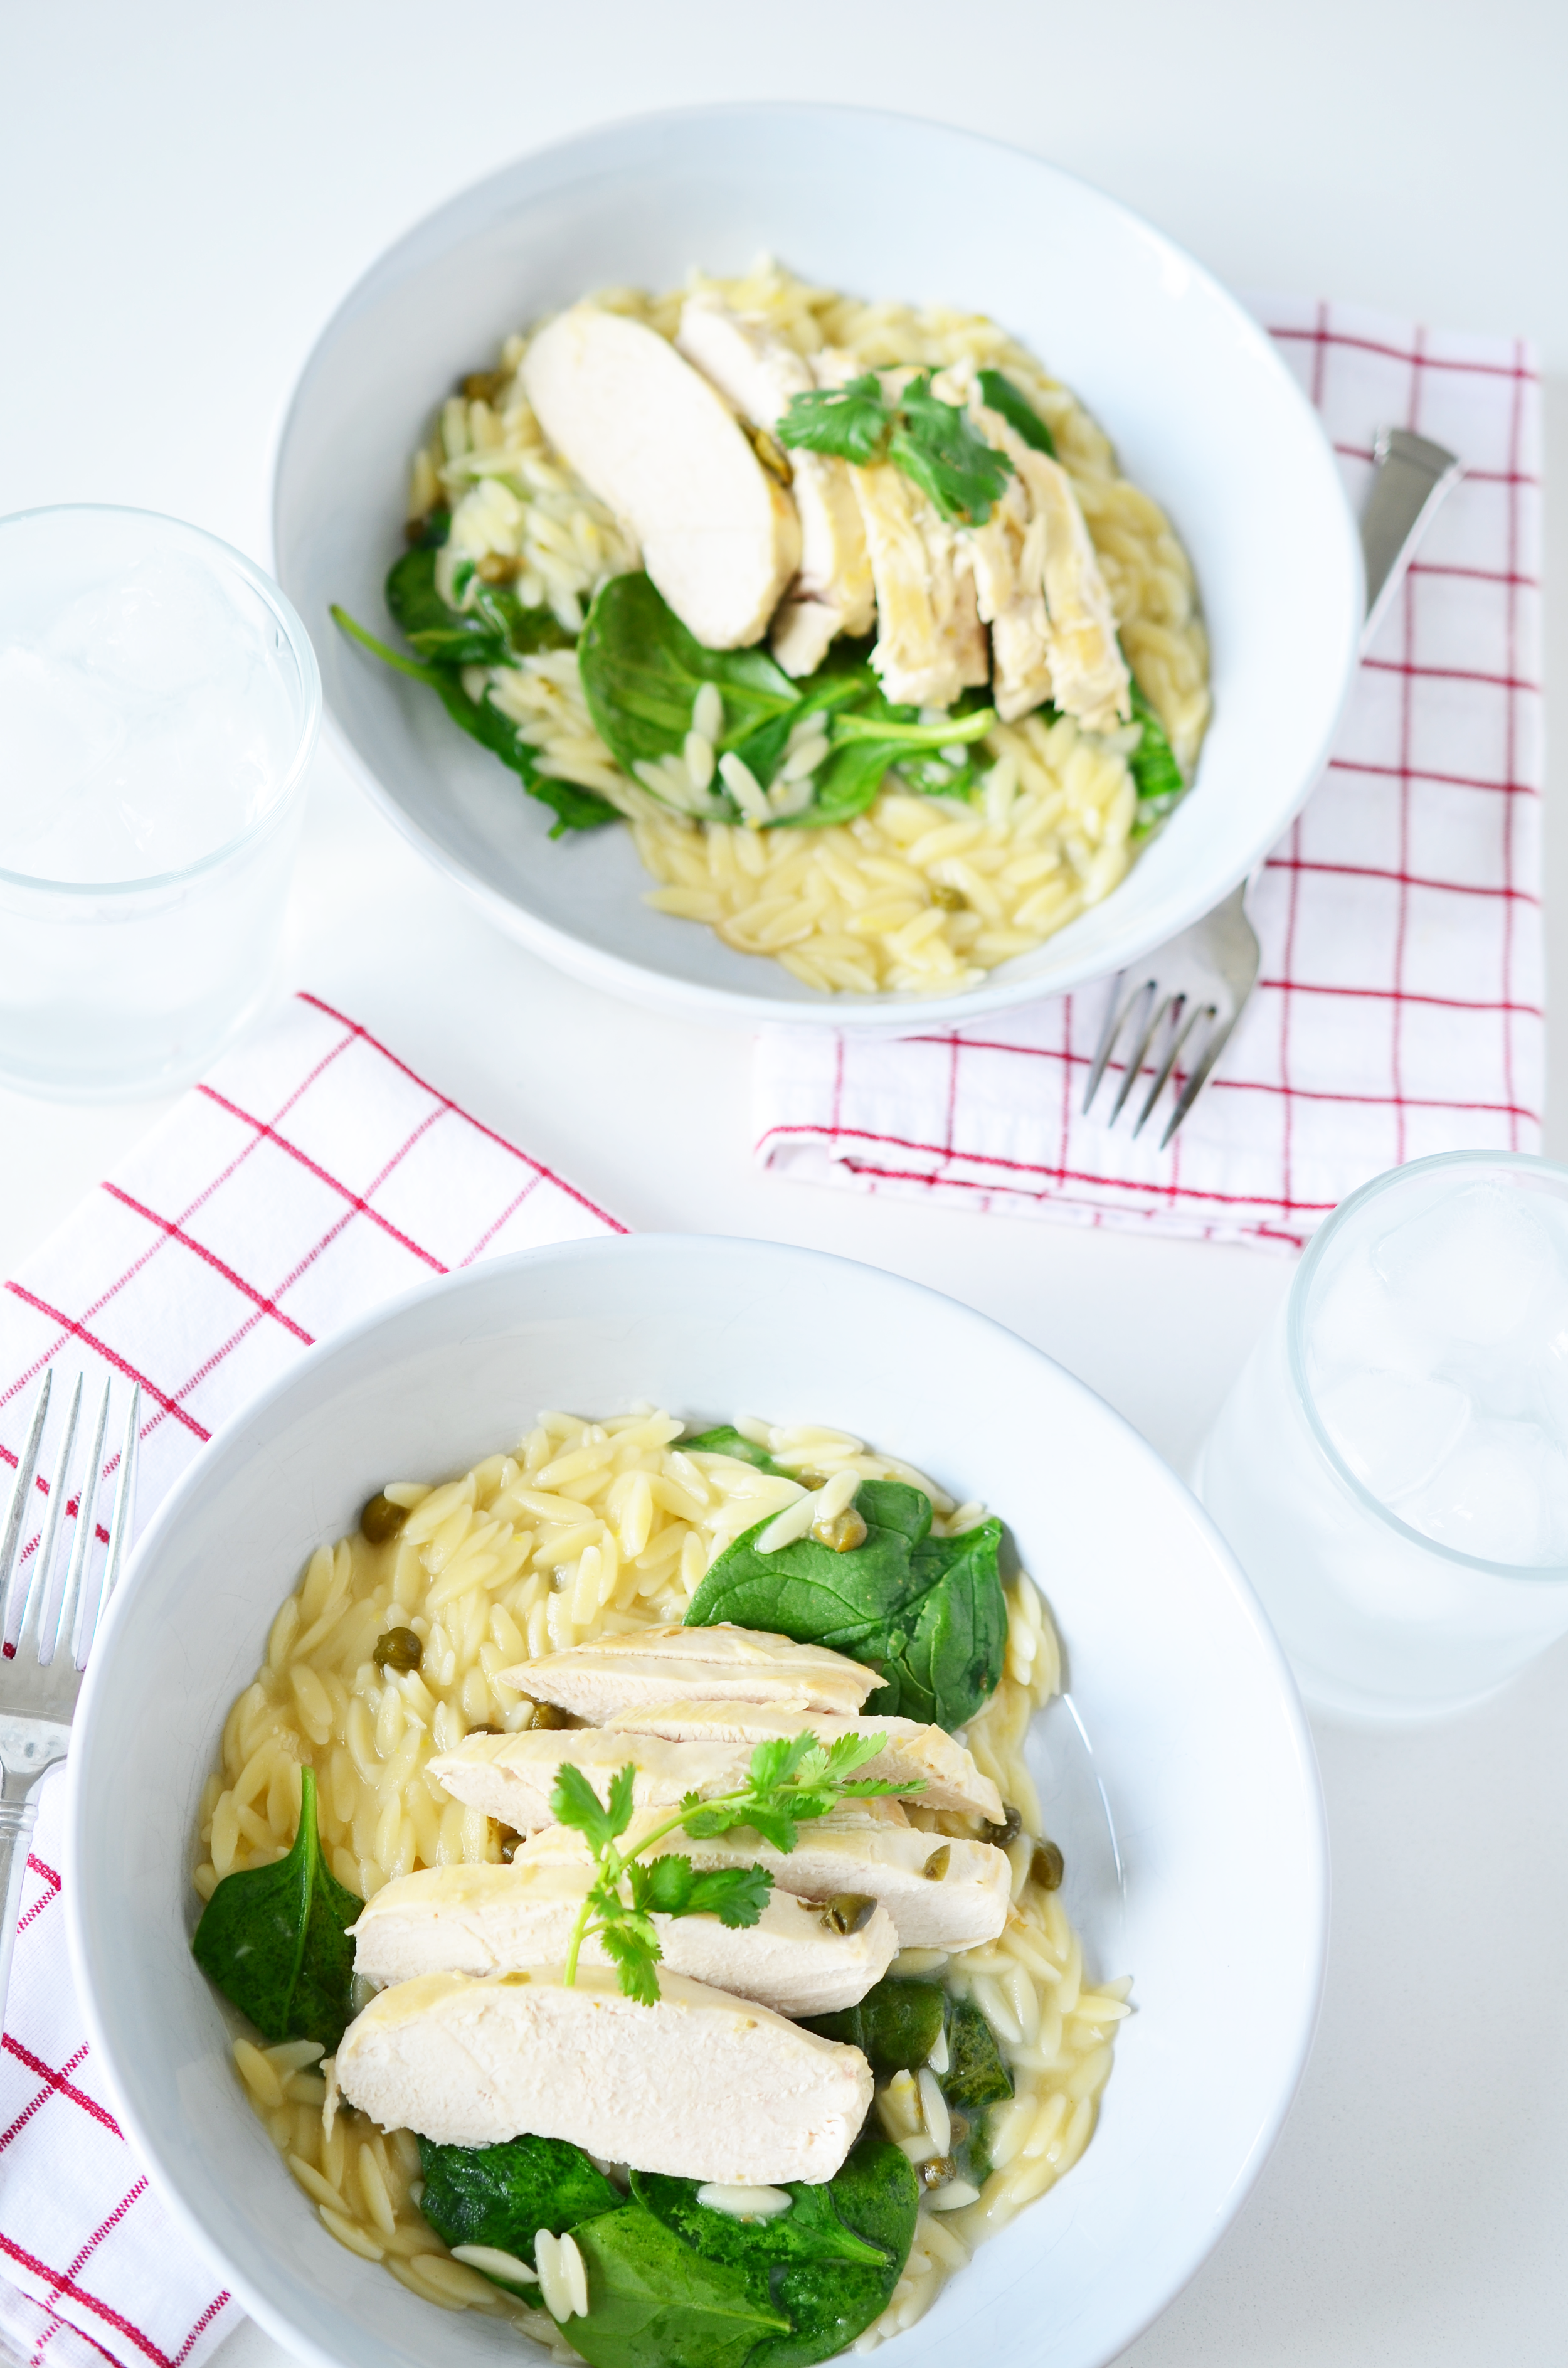
Lemon Caper Chicken with Orzo
serves 4
4 chicken breasts, pounded to even thickness (about 2 pounds)
2 tablespoons butter
2 tablespoons flour
1/2 cup white wine
zest of 1/2 lemon
juice of 1/2 lemon
2 tablespoons capers
1 clove garlic
1 tablespoon caper brine
1 1/2 cups chicken stock
1 cup orzo
2 cups spinach
olive oil
salt and pepper
parsley to garnish
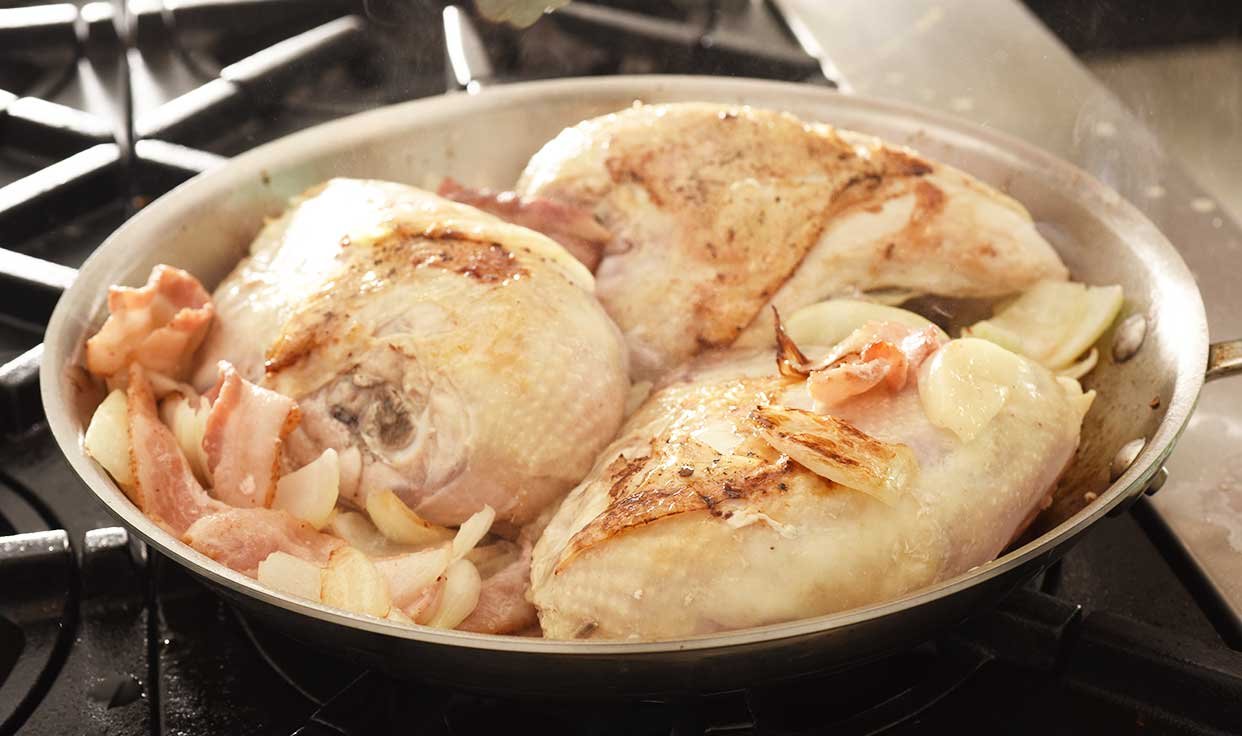
STEP 1
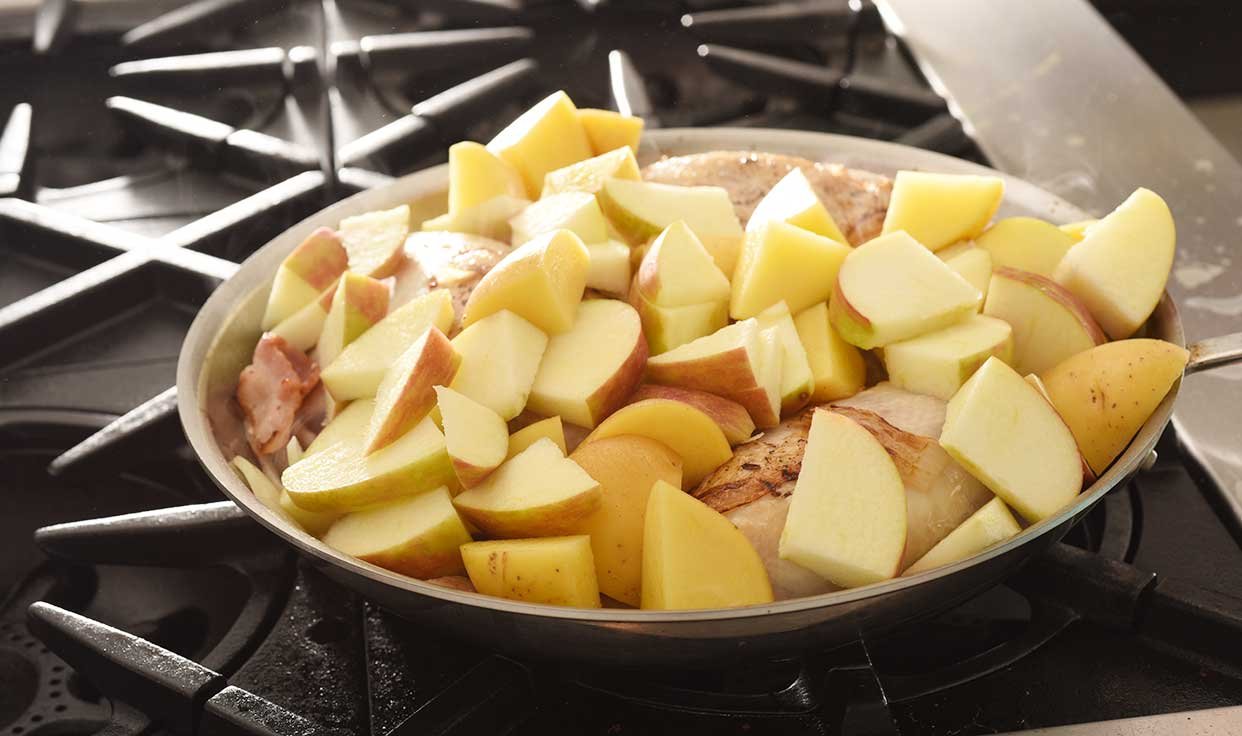
Bring a pot of water to a boil. Brown the chicken on both sides and remove from pan. Don’t worry about cooking through. You’ll do that later.
STEP 2
Lower the heat and melt the butter in the pan and add the flour. Whisk until combined. Pour in the white wine. Whisk until thickened. Add the capers, lemon zest. lemon juice, and stock. Season with salt and pepper to taste. Stir.
STEP 3
Return chicken to the pan, keep the heat on low/medium and cover. Cook until the chicken is cooked through. It takes about 20 minutes. While that’s cooking - boil the orzo.
STEP 4
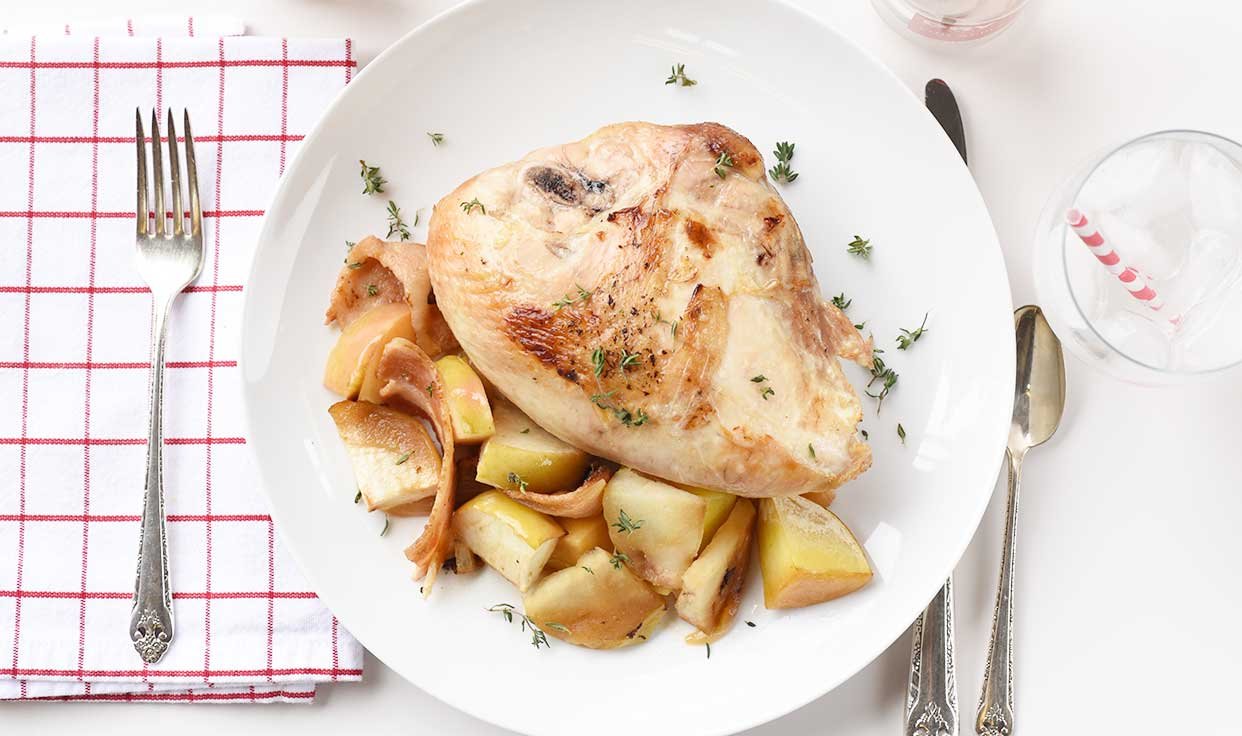
When the chicken is done, remove from the pan. Drain the orzo and toss it into the chicken pan - add the spinach and season with salt & pepper. Pour out into a serving bowl. Slice the chicken and serve it on top. Garnish with parsley freshly chopped.
*optional to top with parmesan cheese!