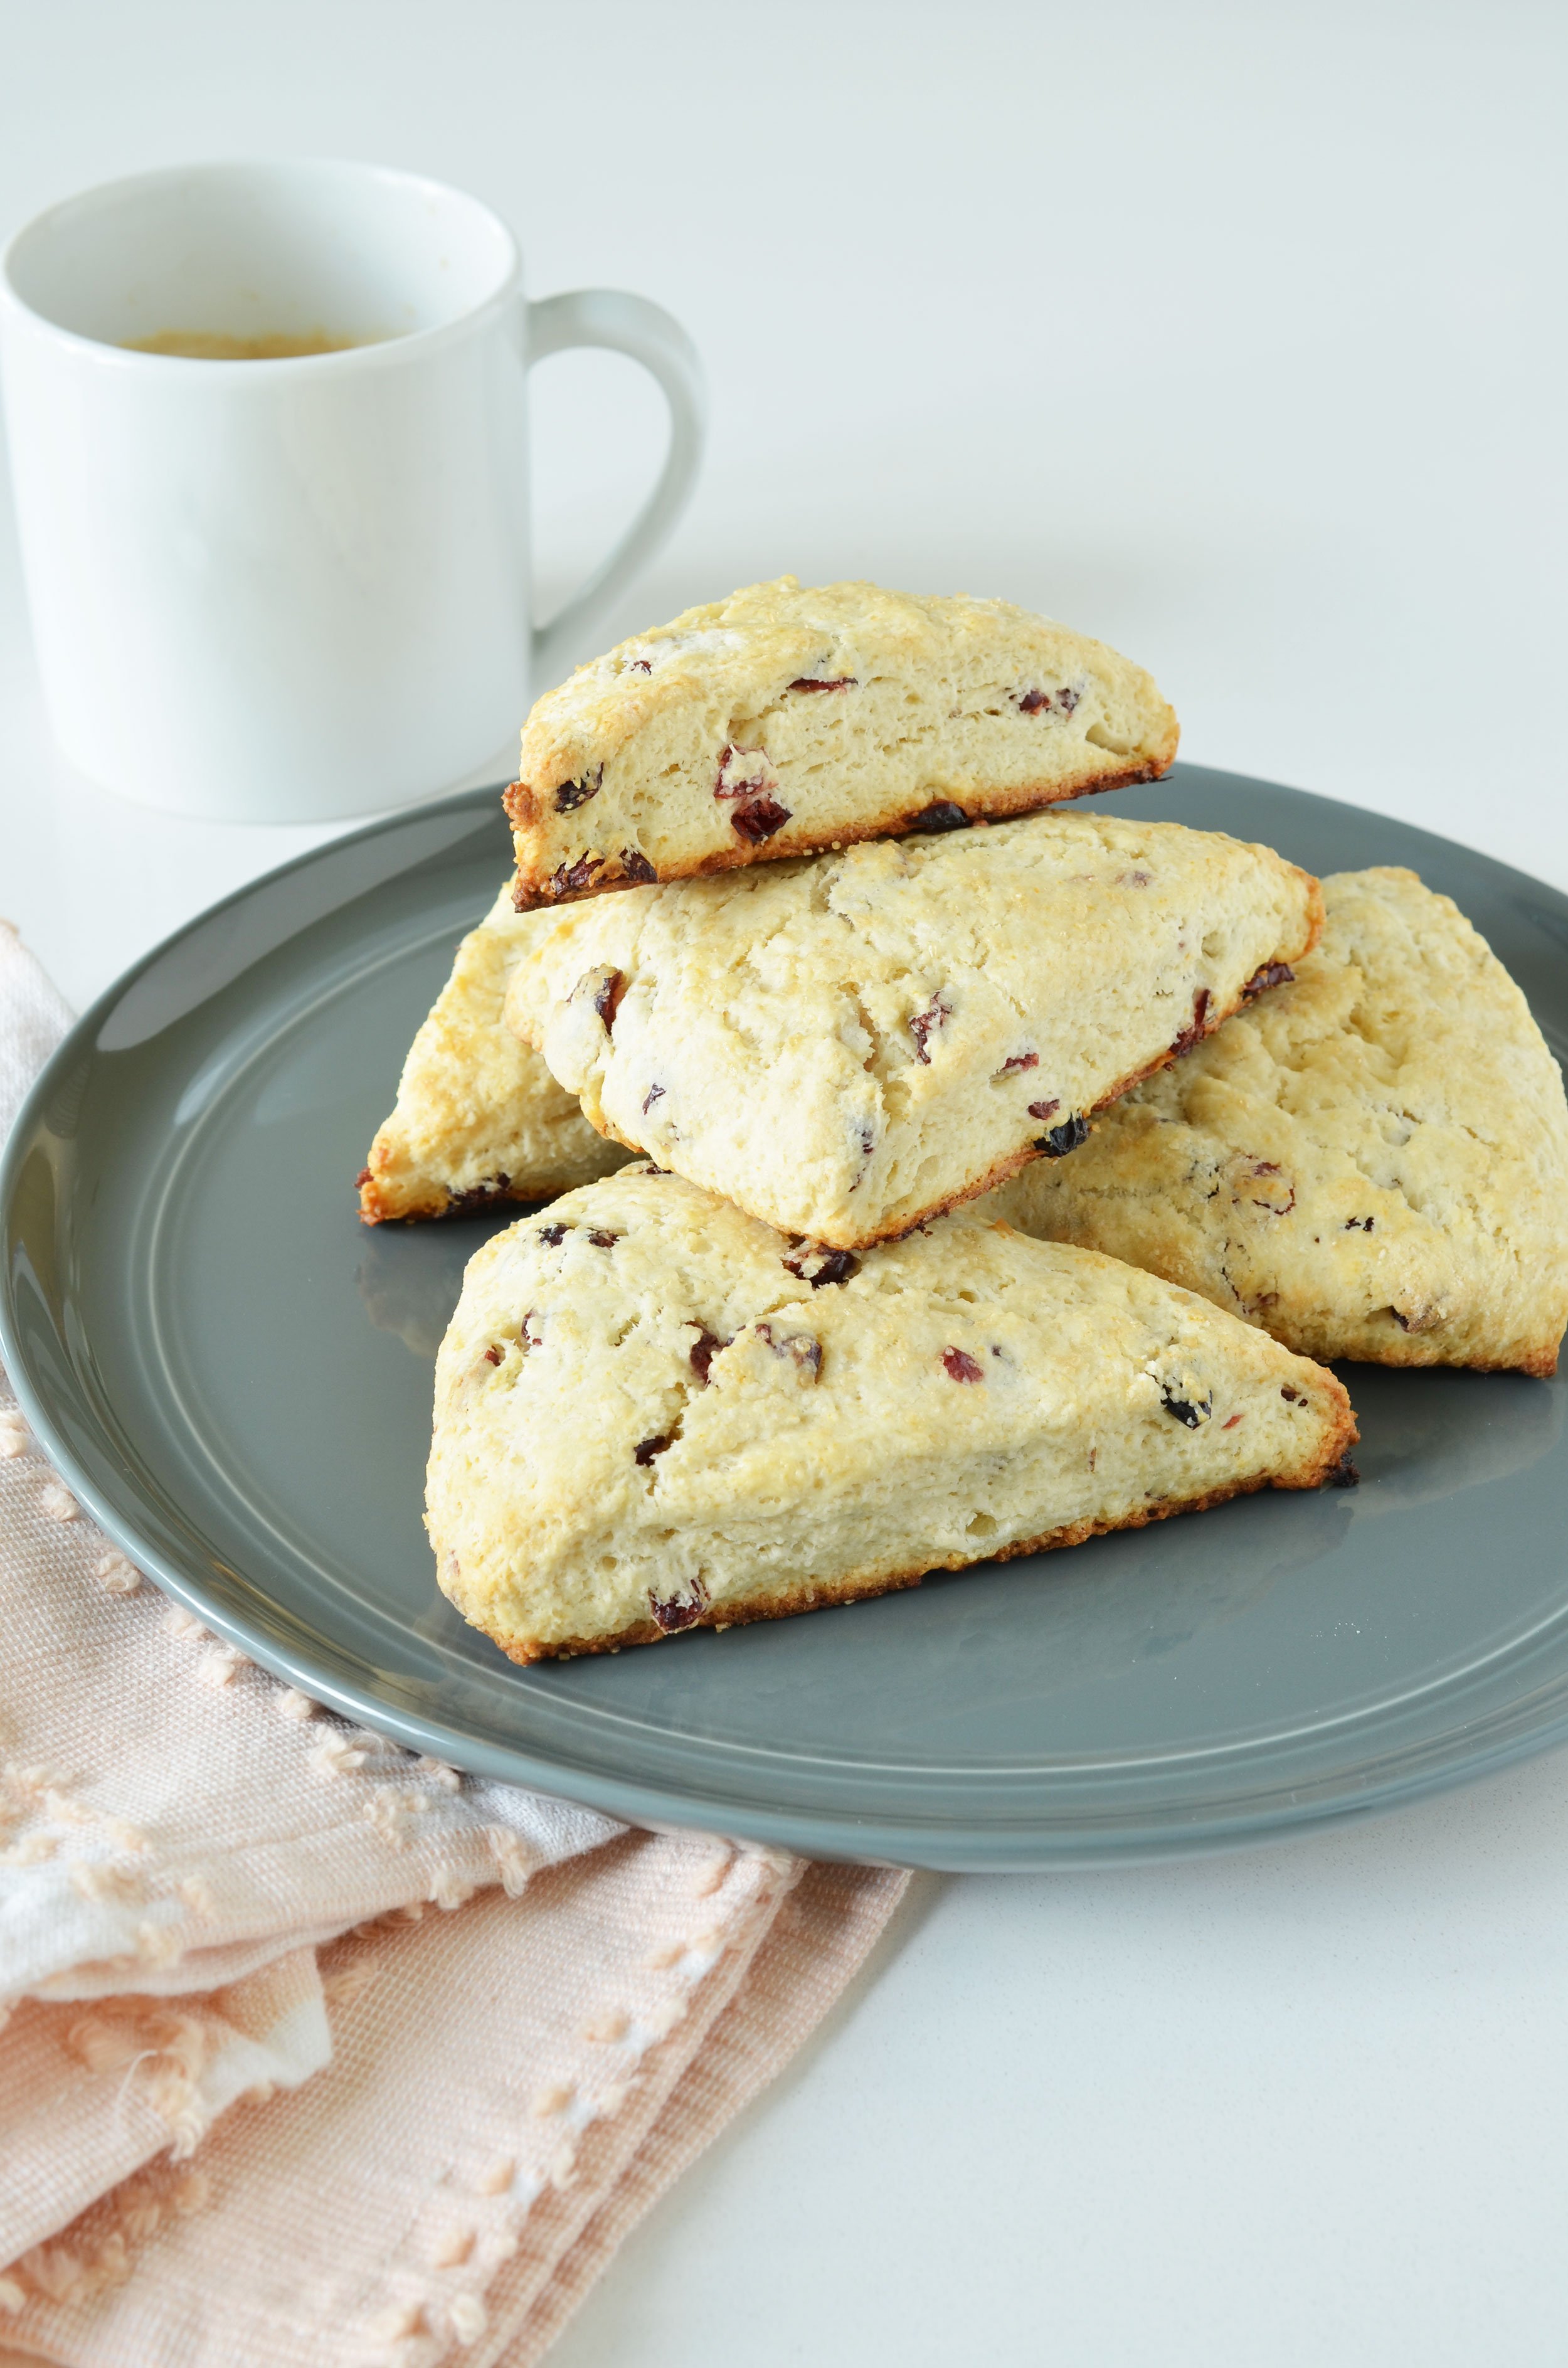
Every year I make an Irish soda bread for St. Patrick’s Day and EVERY year I forget it takes 40 minutes (or more!) to make. Then, a few years ago, I thought about making mini loaves and that train of thought quickly went to scones. Scones are basically mini bread loaves - and when you’re making bread that’s based in buttermilk and cold butter - you are LITERALLY making scones!
Scones are buttermilk or cream + cold butter + flour + your favorite fruit. It could not be simpler. And the recipe could not read more like an Irish Soda Bread recipe - they are so close to the same recipe.
It makes turning one into the other painfully simple.

Here are the secrets
Use frozen butter and grate it on a cheese grater. You need tiny curls of butter
Don’t let the dough warm up - either work fast or pop them in the fridge before baking
Don’t overwork the dough. You’re going to knead it a few times and then let it go. They won’t be perfectly smooth and that’s ok.

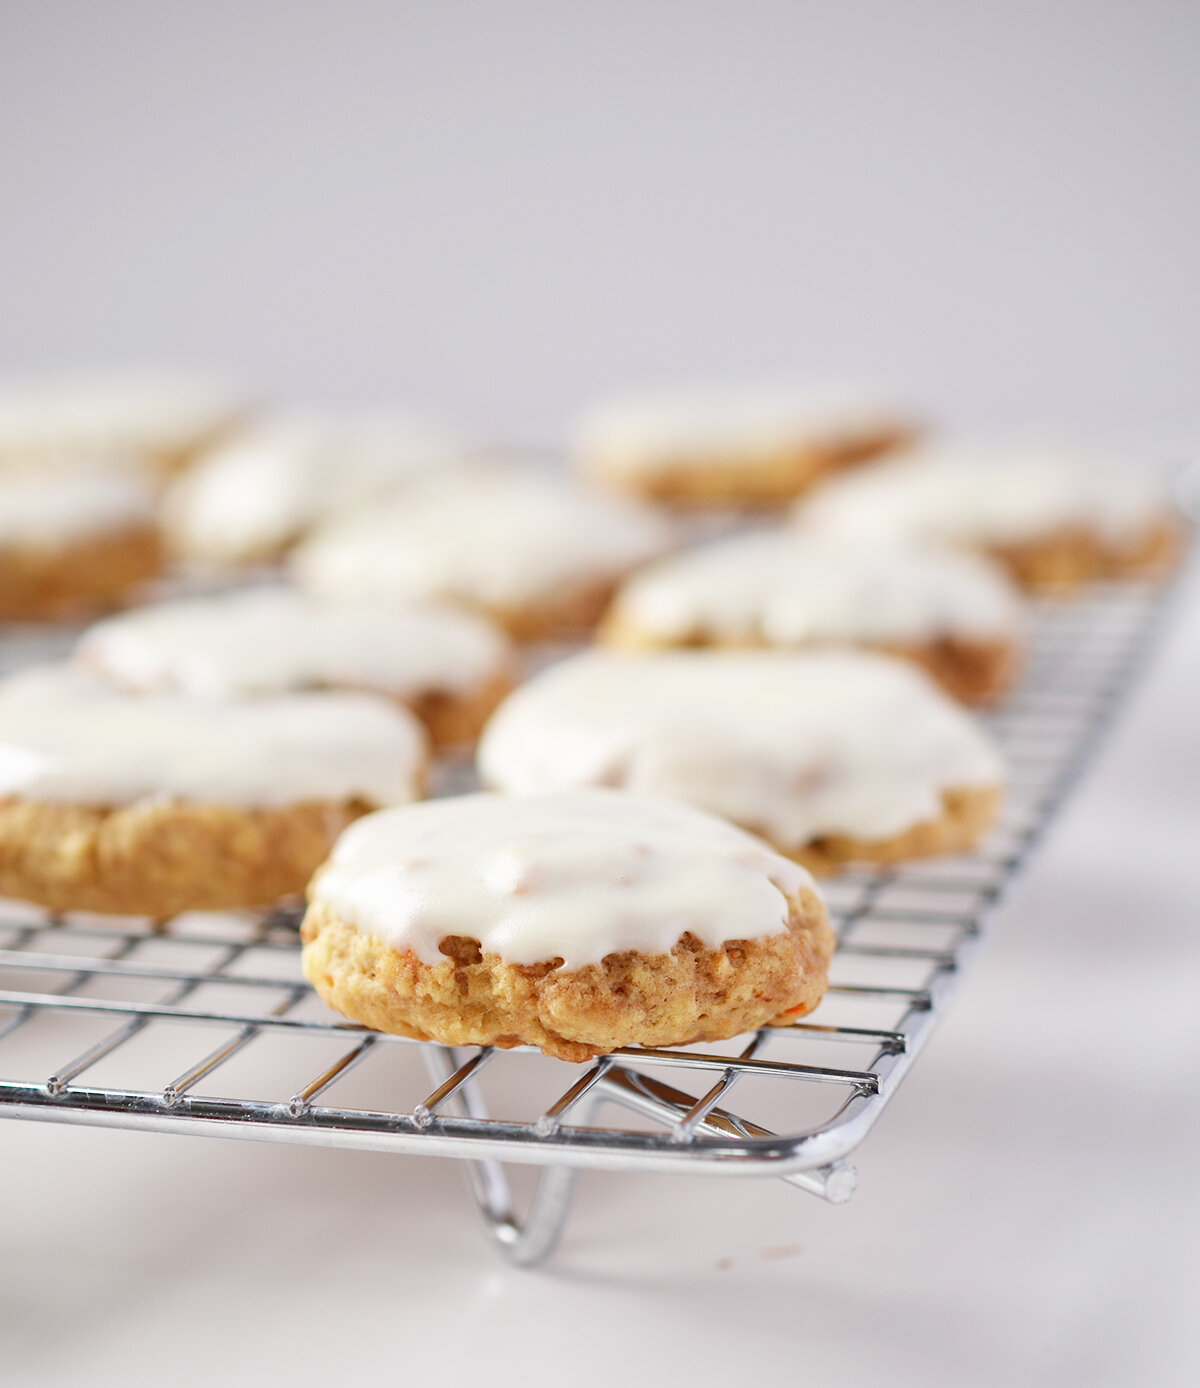
Irish Soda Bread Scones
makes 8-12
1/2 cup buttermilk
1 egg
1 egg yolk
2 1/2 cups flour
1/2 cup sugar
1/2 teaspoon salt
1/2 tablespoon baking powder
1 teaspoon caraway seeds
1/2 cup frozen butter, grated
1/2 cup currants
1 tablespoon heavy cream (or an egg yolk) for brushing the top
STEP 1
Preheat oven to 400 degrees. Mix together the buttermilk, egg and egg yolk and set aside.
STEP 2
Combine flour, sugar, baking power, and currants in the bowl of a stand mixer. Grate the butter into the flour. Turn on the mixer and combine until almost mixed but there will still be some flour in the bowl (about 1/2 cup should be remaining.
STEP 3
Turn out the dough and knead it 5-6 times until the flour is combined into the dough. Form the dough into a 12 inch circle. Slice into 8-12 triangles.
STEP 4
If the dough does not feel cold to the touch, pop the scones into the fridge and let them rest for 10-15 minutes. If they are still cool, then place the scones on a baking sheet lined with parchment and brush the top with cream.
STEP 5
Bake 20 minutes until brown on the edges. Serve warm with butter.


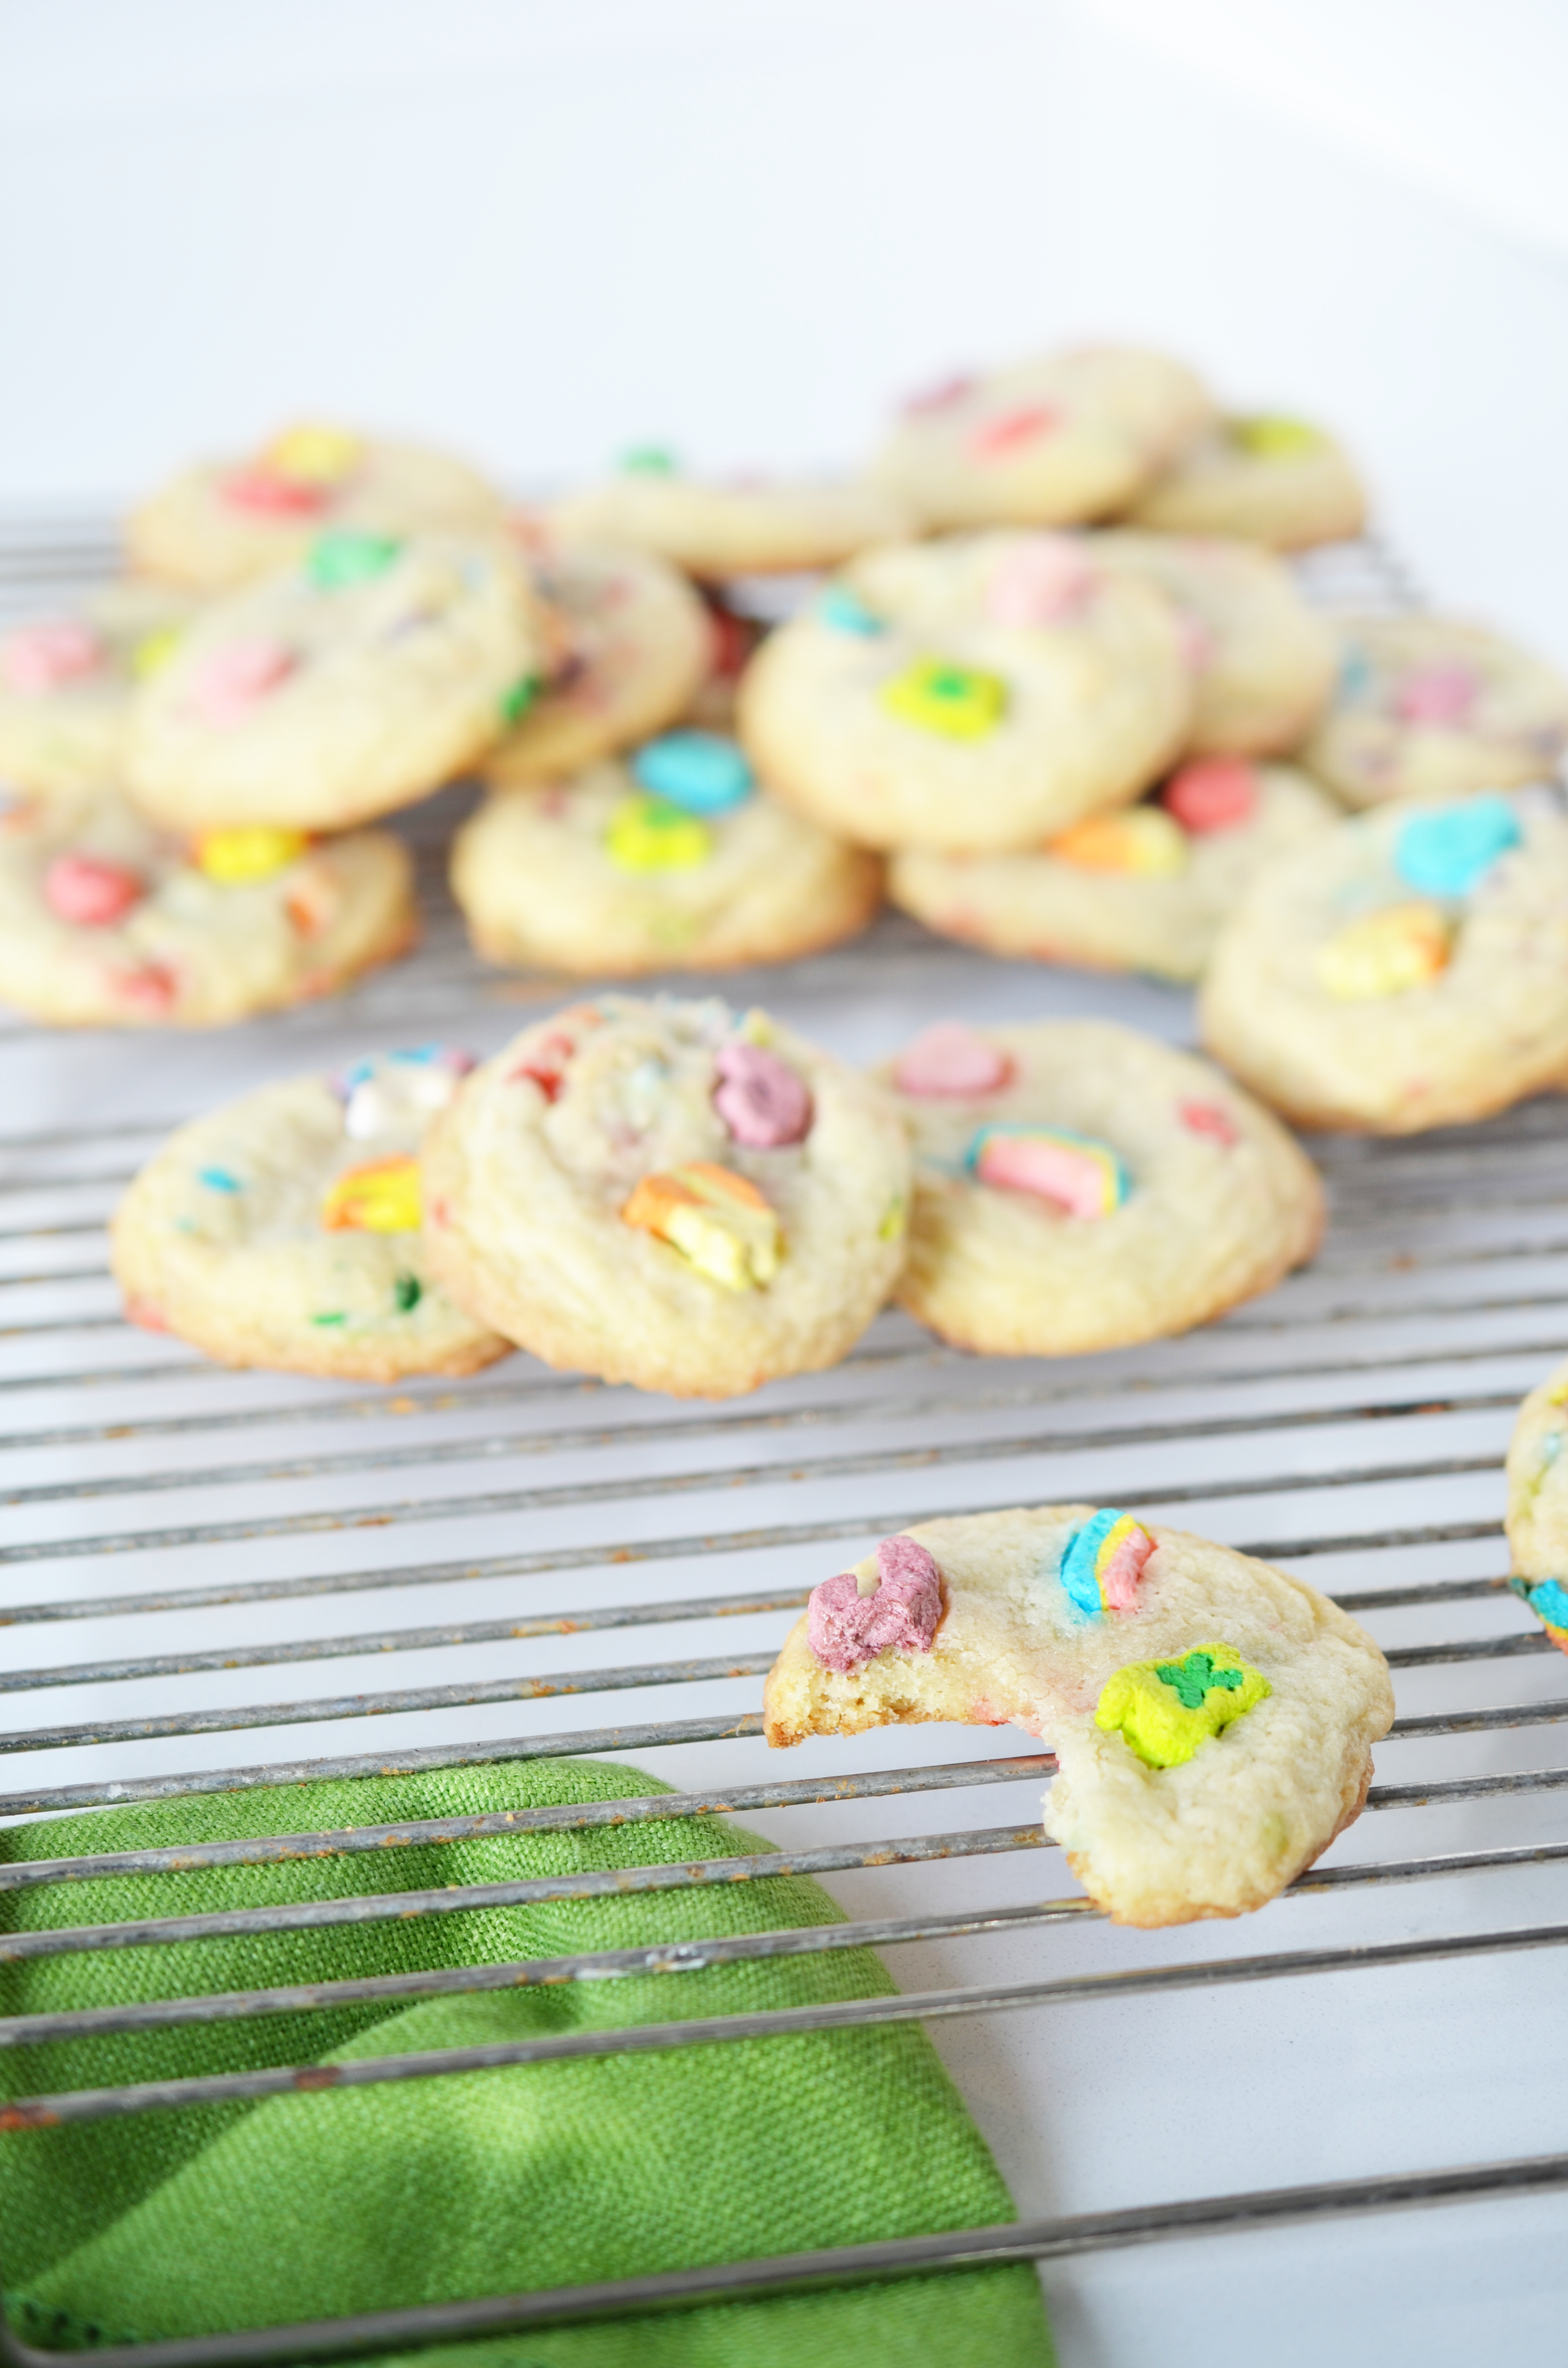


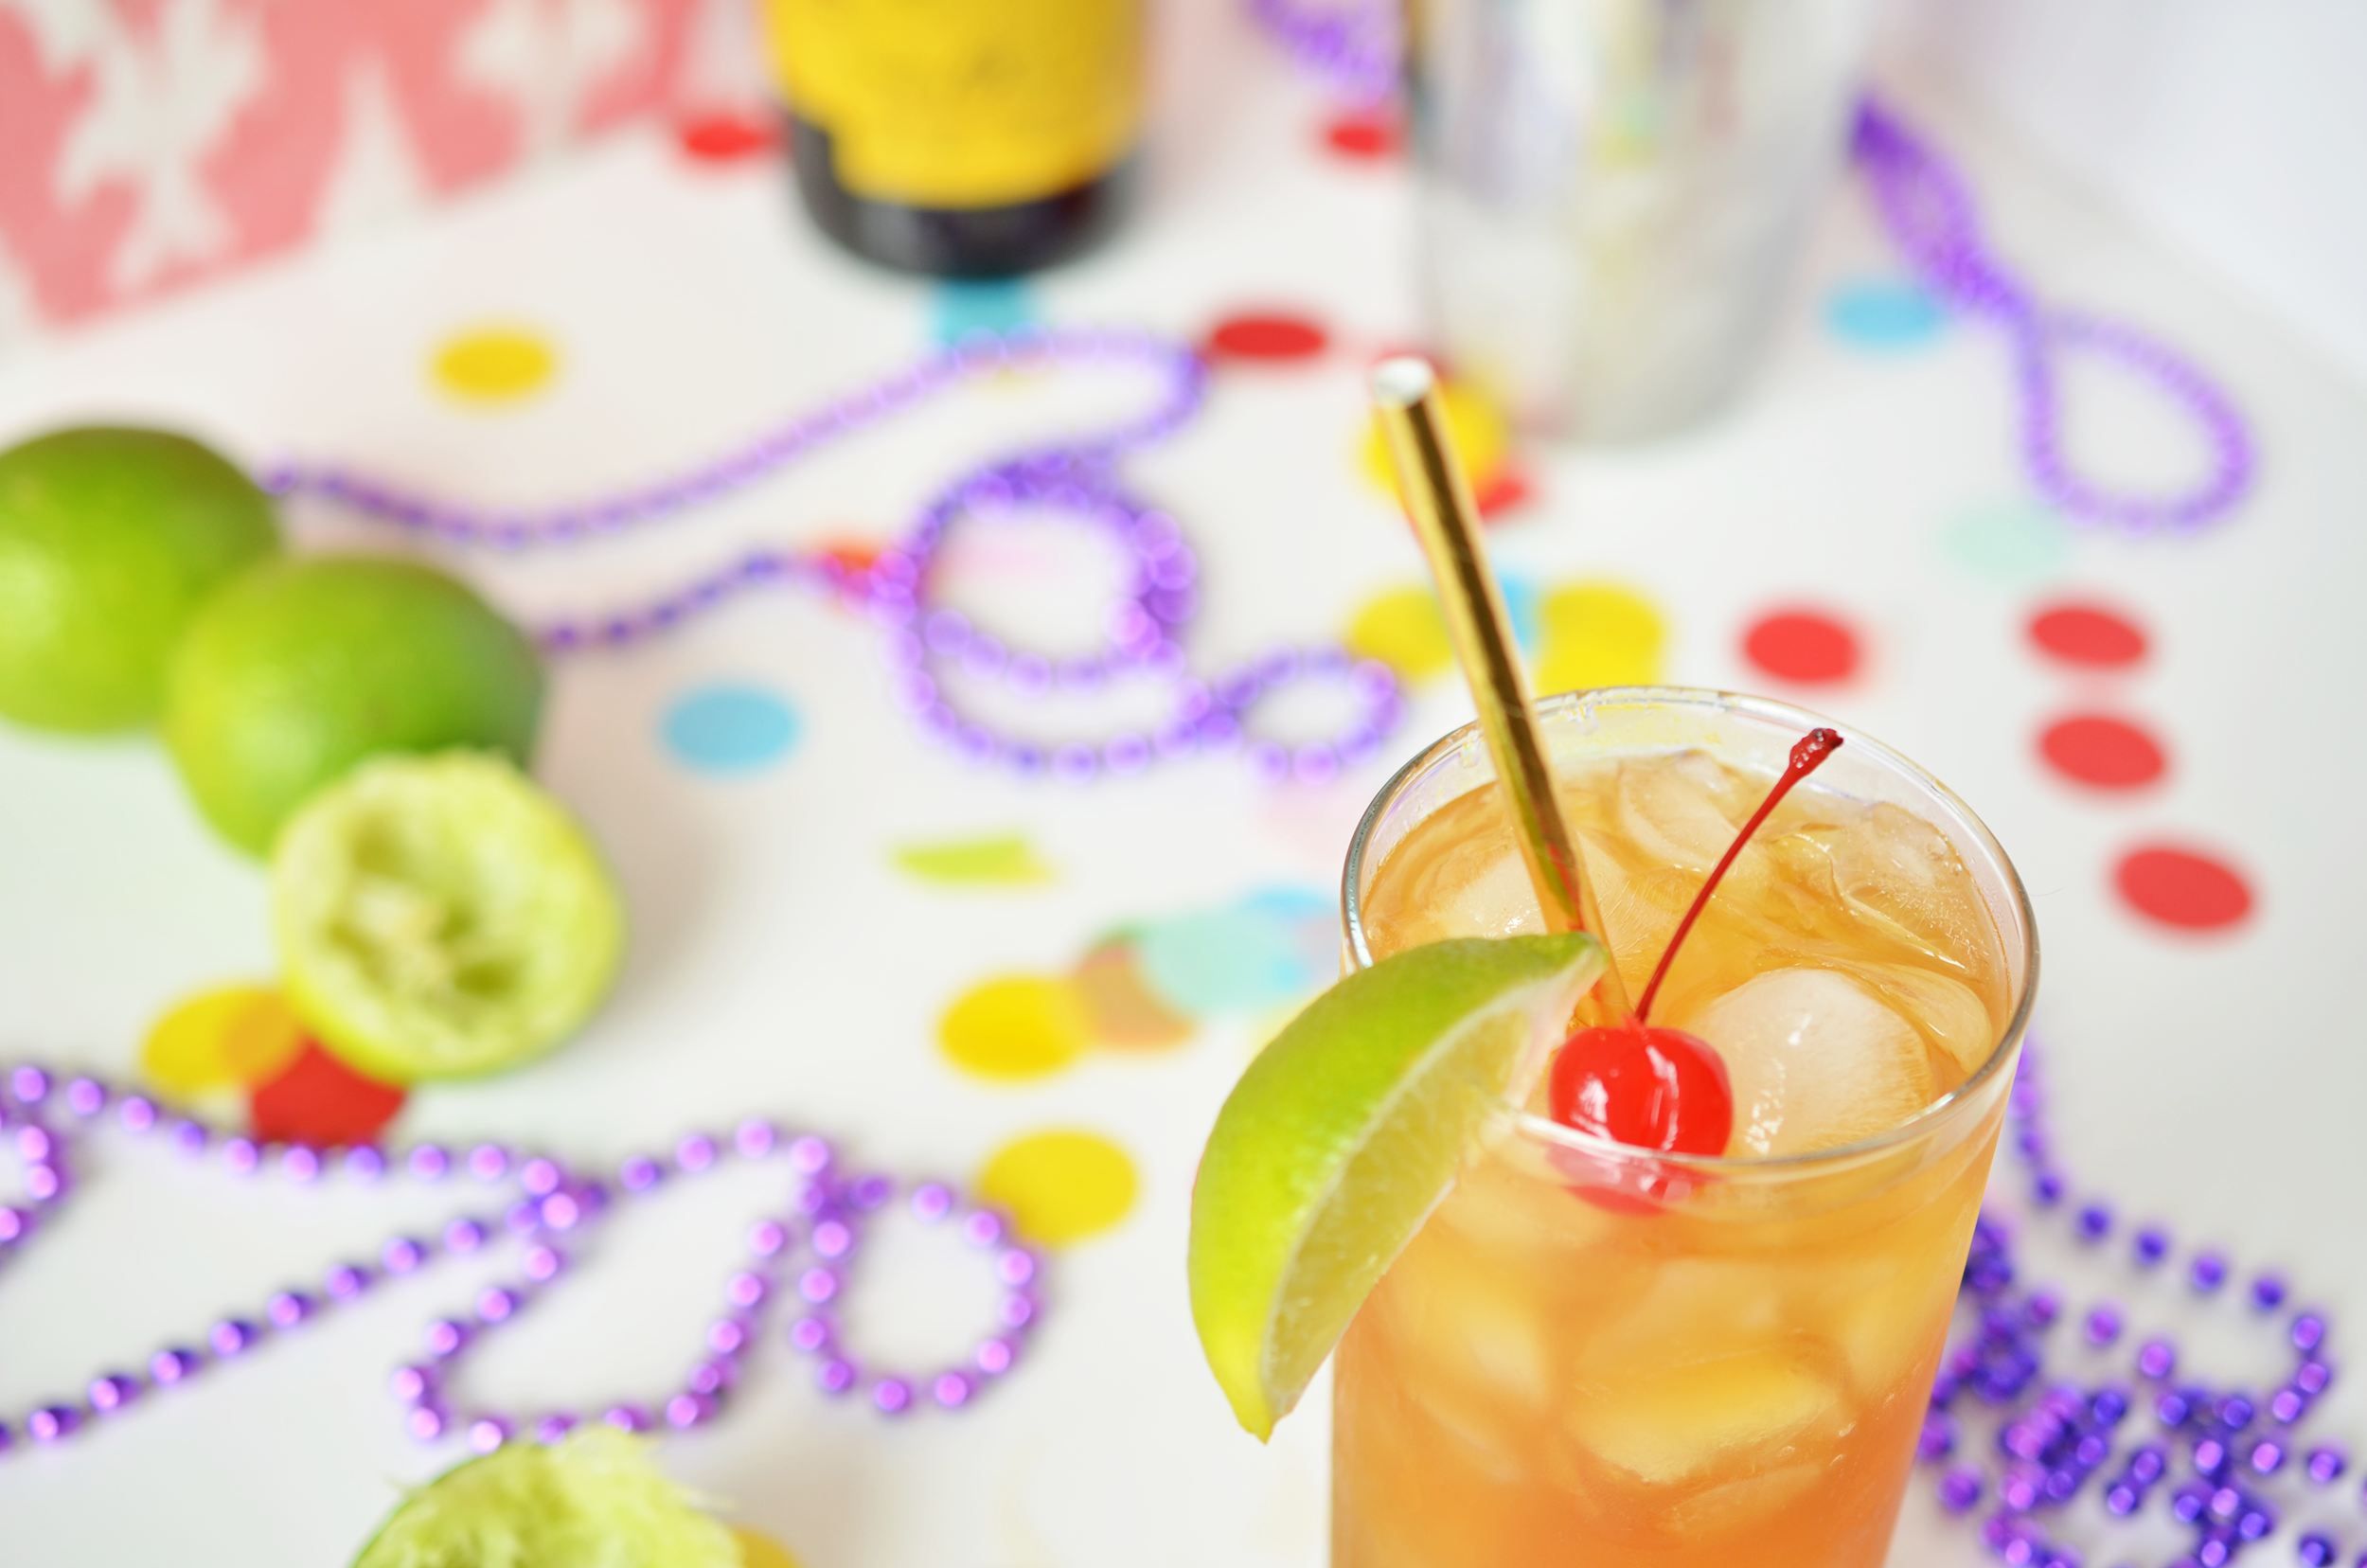
Irish Cocoa
The perfect side to a perfectly Irish breakfast. And topped with Lucky Charms, it’s actually the cutest spiked cocoa you ever did see,